This tutorial guides you through preparing a Debian 12 server equipped with Apache2, BIND, and Dovecot for the installation of ISPConfig 3.2. ISPConfig offers a web-based control panel for configuring a range of services, including Apache or nginx, Postfix, Dovecot, MySQL, BIND, and others. This specific setup focuses on using Apache, BIND, and Dovecot with the Rspamd spam scanner.
We will go through the manual installation of ISPConfig, providing you full control over each step. However, for an easier and quicker installation, consider using the ISPConfig auto-installer. More information is available here: ISPConfig Auto-Install for Debian and Ubuntu
1. Preliminary Notes
We’ll start with a minimal installation of Debian 12. In this tutorial, we use the hostname server1.example.com with IP 192.168.0.100 and gateway 192.168.0.1. Replace these example settings with your own as necessary. Set up the base system using a minimal Debian image or the Minimal Debian Server guide.
Execute all commands as the root user. Either log in as root directly or use:
su --login
This ensures your PATH variable is correctly set up. Make sure your /etc/apt/sources.list includes the bookworm-updates repository and that the contrib, non-free, and non-free-firmware repositories are activated.
nano /etc/apt/sources.list
  #deb cdrom:[Debian GNU/Linux 12.1.0 _Bookworm_ - Official amd64 NETINST with firmware 20230722-10:48]/ bookworm main non-free-firmware

  deb http://deb.debian.org/debian/ bookworm main contrib non-free non-free-firmware
  deb-src http://deb.debian.org/debian/ bookworm main contrib non-free non-free-firmware

  deb http://security.debian.org/debian-security bookworm-security main contrib non-free non-free-firmware
  deb-src http://security.debian.org/debian-security bookworm-security main contrib non-free non-free-firmware

  deb http://deb.debian.org/debian/ bookworm-updates main contrib non-free non-free-firmware
  deb-src http://deb.debian.org/debian/ bookworm-updates main contrib non-free non-free-firmware
Save the changes and exit.
2. Install the SSH Server (Optional)
If the OpenSSH server wasn’t installed during the system setup, add it now:
apt install ssh openssh-server
You can now use an SSH client like PuTTY to connect to your Debian server remotely.
3. Install a Shell Text Editor (Optional)
This tutorial uses the nano editor, but we will also install vim, specifically the vim-nox package, to avoid unusual behavior typical on Ubuntu and Debian.
apt install nano vim-nox
Switch to vi in commands if you prefer it over nano.
4. Configure the Hostname
The server’s hostname should be a subdomain, such as “server1.example.com”. Ensure it’s specified correctly in /etc/hosts. Avoid using just “example.com” as that can hinder mail configurations.
nano /etc/hosts
  127.0.0.1       localhost.localdomain   localhost
  192.168.0.100   server1.example.com     server1

  # For IPv6 capable hosts
  ::1             localhost ip6-localhost ip6-loopback
  ff02::1         ip6-allnodes
  ff02::2         ip6-allrouters
Edit /etc/hostname file next:
nano /etc/hostname
It should contain only:
server1
Reboot your server for the changes to take effect:
systemctl reboot
Log back in and verify your hostname:
hostname
hostname -f
The commands should return:
server1
server1.example.com
5. Update Your Debian Installation
First, verify your /etc/apt/sources.list for appropriate repositories, as mentioned earlier:
nano /etc/apt/sources.list
Run the following to update your package database and apply security updates:
apt update
apt upgrade
6. Synchronize the System Clock
Synchronize your clock with an Internet-based NTP server for accuracy:
apt -y install ntp
7. Install Postfix, Dovecot, MariaDB, rkhunter, and Binutils
Install these required services with one command:
apt -y install postfix postfix-mysql postfix-doc mariadb-client mariadb-server openssl getmail6 rkhunter binutils dovecot-imapd dovecot-pop3d dovecot-mysql dovecot-sieve dovecot-lmtpd sudo curl rsyslog wget gnupg2 lsb-release ufw rsyslog
During installation, you’ll configure the mail server:
General type of mail configuration: <-- Internet Site
System mail name: <-- server1.example.com
Secure the MariaDB installation:
mysql_secure_installation
  Switch to unix_socket authentication [Y/n] <-- n
  Change the root password? [Y/n] <-- y
  New password: <-- enter new password
  Remove anonymous users? [Y/n] <-- y
  Disallow root login remotely? [Y/n] <-- y
  Remove test database and access to it? [Y/n] <-- y
  Reload privilege tables now? [Y/n] <-- y
Edit Postfix for emails over TLS/SSL:
nano /etc/postfix/master.cf
[...]
  submission inet n       -       y       -       -       smtpd
     -o syslog_name=postfix/submission
     -o smtpd_tls_security_level=encrypt
     -o smtpd_sasl_auth_enable=yes
  submissions inet  n     -       y       -       -       smtpd
     -o syslog_name=postfix/submissions
     -o smtpd_tls_wrappermode=yes
     -o smtpd_sasl_auth_enable=yes
  [...]/submissions
Restart Postfix:
systemctl restart postfix
Allow MySQL to listen on all interfaces, not just localhost:
nano /etc/mysql/mariadb.conf.d/50-server.cnf
[...]
  # bind-address = 127.0.0.1
  [...]/bind-address
Edit /etc/mysql/debian.cnf to reflect your MariaDB root password:
nano /etc/mysql/debian.cnf
  [client]
  host = localhost
  user = root
  password = "howtoforge"
  [mysql_upgrade]
  host = localhost
  user = root
  password = "howtoforge"
Adjust MariaDB file permissions:
nano /etc/security/limits.conf
  mysql soft nofile 65535
  mysql hard nofile 65535
  mkdir -p /etc/systemd/system/mysql.service.d/
  nano /etc/systemd/system/mysql.service.d/limits.conf
[Service]
  LimitNOFILE=infinity
Restart MariaDB:
systemctl daemon-reload
systemctl restart mariadb
Verify MySQL networking:
netstat -tap | grep mysql
tcp6 0 0 [::]:mysql [::]:* LISTEN 16623/mysqld
8. Install Rspamd and ClamAV
Add the Rspamd repository:
  CODENAME=`lsb_release -c -s`
  wget -qO- https://rspamd.com/apt-stable/gpg.key | tee /etc/apt/trusted.gpg.d/rspamd.asc > /dev/null
  echo "deb [arch=amd64] http://rspamd.com/apt-stable/ $CODENAME main" > /etc/apt/sources.list.d/rspamd.list
  echo "deb-src [arch=amd64] http://rspamd.com/apt-stable/ $CODENAME main" >> /etc/apt/sources.list.d/rspamd.list
Install Rspamd and ClamAV:
apt install rspamd redis clamav clamav-daemon unzip bzip2 arj nomarch lzop cabextract p7zip p7zip-full unrar lrzip apt-listchanges libnet-ldap-perl libauthen-sasl-perl clamav-docs daemon libio-string-perl libio-socket-ssl-perl libnet-ident-perl zip libnet-dns-perl libdbd-mysql-perl postgrey -y
Activate Redis configuration for Rspamd:
echo 'servers = "127.0.0.1";' > /etc/rspamd/local.d/redis.conf
Optionally, increase Rspamd history and enable compression:
  echo "nrows = 2500;" > /etc/rspamd/local.d/history_redis.conf
  echo "compress = true;" >> /etc/rspamd/local.d/history_redis.conf
  echo "subject_privacy = true;" >> /etc/rspamd/local.d/history_redis.conf
Restart Rspamd:
systemctl restart rspamd
9. Install Apache Web Server and PHP
Install Apache2 and PHP along with FCGI, suExec, Pear, and mcrypt:
apt -y install apache2 apache2-utils php8.2 php8.2-fpm php8.2-common php8.2-gd php8.2-mysql php8.2-imap php8.2-cli php8.2-cgi libapache2-mod-fcgid apache2-suexec-pristine php-pear mcrypt imagemagick libruby libapache2-mod-python php8.2-curl php8.2-intl php8.2-pspell php8.2-sqlite3 php8.2-tidy php8.2-xmlrpc php8.2-xsl memcached php-memcache php-imagick php8.2-zip php8.2-mbstring memcached libapache2-mod-passenger php8.2-soap php8.2-opcache php-apcu libapache2-reload-perl php8.2-mcrypt
Enable php-fpm in Apache2:
  a2enmod proxy_fcgi setenvif
  a2enconf php8.2-fpm
Enable essential Apache modules:
a2enmod suexec rewrite ssl actions include dav_fs dav auth_digest cgi headers actions alias
Protect your server from the HTTPOXY vulnerability by adding a configuration:
nano /etc/apache2/conf-available/httpoxy.conf
<IfModule mod_headers.c>
  RequestHeader unset Proxy early
  </IfModule>
Activate the configuration:
  a2enconf httpoxy
  systemctl restart apache2
10. Install Let’s Encrypt
Install acme.sh for SSL certificate management:
  curl https://get.acme.sh | sh -s
  acme.sh --set-default-ca --server letsencrypt
11. Install PureFTPd and Quota
Install PureFTPd and quota management tools:
apt install pure-ftpd-common pure-ftpd-mysql quota quotatool
Create a dhparam file:
openssl dhparam -out /etc/ssl/private/pure-ftpd-dhparams.pem 2048
Edit /etc/default/pure-ftpd-common to configure startup settings:
nano /etc/default/pure-ftpd-common
  [...]
  STANDALONE_OR_INETD=standalone
  [...]
  VIRTUALCHROOT=true
  [...]
Enable FTP with TLS support:
echo 1 > /etc/pure-ftpd/conf/TLS
Generate an SSL certificate for FTP sessions:
openssl req -x509 -nodes -days 7300 -newkey rsa:2048 -keyout /etc/ssl/private/pure-ftpd.pem -out /etc/ssl/private/pure-ftpd.pem
  Country Name (2 letter code) [AU]: <-- Enter your Country Name (e.g., "US").
  State or Province Name (full name) [Some-State]: <-- Enter your State or Province Name.
  Locality Name (eg, city) []: <-- Enter your City.
  Organization Name (eg, company) [Internet Widgits Pty Ltd]: <-- Enter your Organization Name.
  Organizational Unit Name (eg, section) []: <-- Enter your Organizational Unit Name.
  Common Name (eg, YOUR name) []: <-- Enter the FQDN of the system.
  Email Address []: <-- Enter your Email Address.
Set permissions for the SSL certificate:
chmod 600 /etc/ssl/private/pure-ftpd.pem
Restart PureFTPd:
systemctl restart pure-ftpd-mysql
Edit /etc/fstab to enable quotas:
nano /etc/fstab
UUID=45576b38-39e8-4994-b8c1-ea4870e2e614 / ext4 errors=remount-ro,usrjquota=quota.user,grpjquota=quota.group,jqfmt=vfsv0 0 1
Activate quotas with these commands:
  mount -o remount /
  systemctl daemon-reload
  quotacheck -avugm
  quotaon -avug
Ignore the message about deprecated quota files for ext4.
12. Install BIND DNS Server
Install BIND and utilities:
apt install bind9 dnsutils
For virtual servers, install the haveged daemon for DNSSEC signing:
apt install haveged
13. Install Webalizer Replacement, AWStats, and GoAccess
Install analytics and reporting tools:
apt install awffull awstats geoip-database libclass-dbi-mysql-perl libtimedate-perl
Create webalizer directory and symlinks:
  mkdir /etc/webalizer
  chmod 0755 /etc/webalizer
  ln -s /etc/awffull/awffull.conf /etc/webalizer/webalizer.conf
  ln -s /usr/bin/awffull /usr/bin/webalizer
Edit /etc/cron.d/awstats and comment out all lines:
nano /etc/cron.d/awstats
  #MAILTO=root
  #*/10 * * * www-data [ -x /usr/share/awstats/tools/update.sh ] && /usr/share/awstats/tools/update.sh
  # Generate static reports:
  #10 03 * * * www-data [ -x /usr/share/awstats/tools/buildstatic.sh ] && /usr/share/awstats/tools/buildstatic.sh
Install latest GoAccess:
  echo "deb https://deb.goaccess.io/ $(lsb_release -cs) main" | tee -a /etc/apt/sources.list.d/goaccess.list
  wget -O - https://deb.goaccess.io/gnugpg.key | tee /etc/apt/trusted.gpg.d/goaccess.asc >/dev/null
  apt update
  apt install goaccess
14. Install Jailkit
Use Jailkit for chrooting SSH users:
apt install jailkit
15. Install Fail2Ban and UFW Firewall
Enhance security with Fail2Ban:
apt install fail2ban
Configure Fail2Ban monitoring for PureFTPD and Dovecot:
nano /etc/fail2ban/jail.local
  [pure-ftpd]
  enabled = true
  port = ftp
  filter = pure-ftpd
  logpath = /var/log/syslog
  maxretry = 3

  [dovecot]
  enabled = true
  filter = dovecot
  logpath = /var/log/mail.log
  maxretry = 5

  [postfix-sasl]
  enabled = true
  port = smtp
  filter = postfix[mode=auth]
  logpath = /var/log/mail.log
  maxretry = 3
Restart Fail2Ban:
systemctl restart fail2ban
Install UFW firewall:
apt install ufw
16. Install phpMyAdmin Database Tool
For database administration, install phpMyAdmin:
apt install phpmyadmin
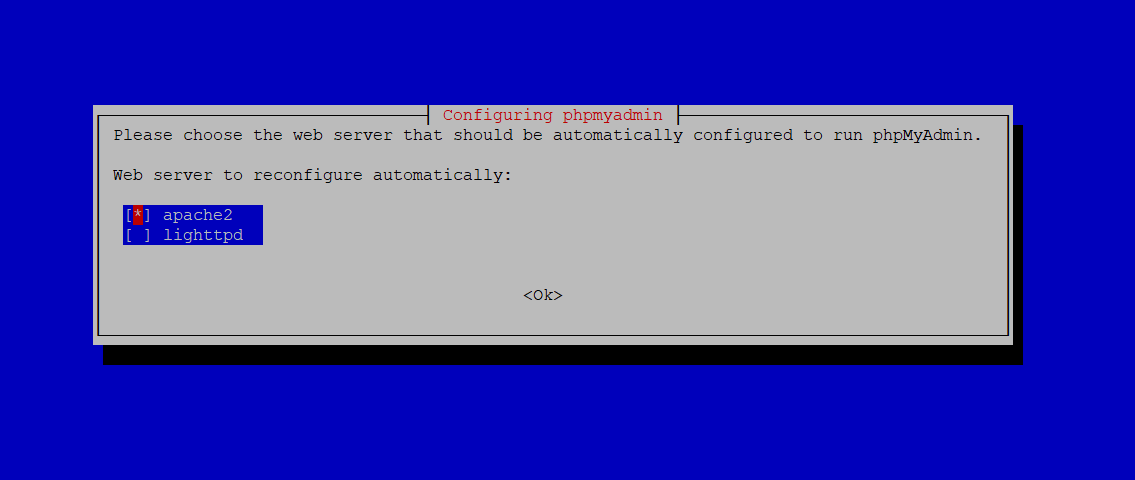
Choose to enable phpMyAdmin with Apache:
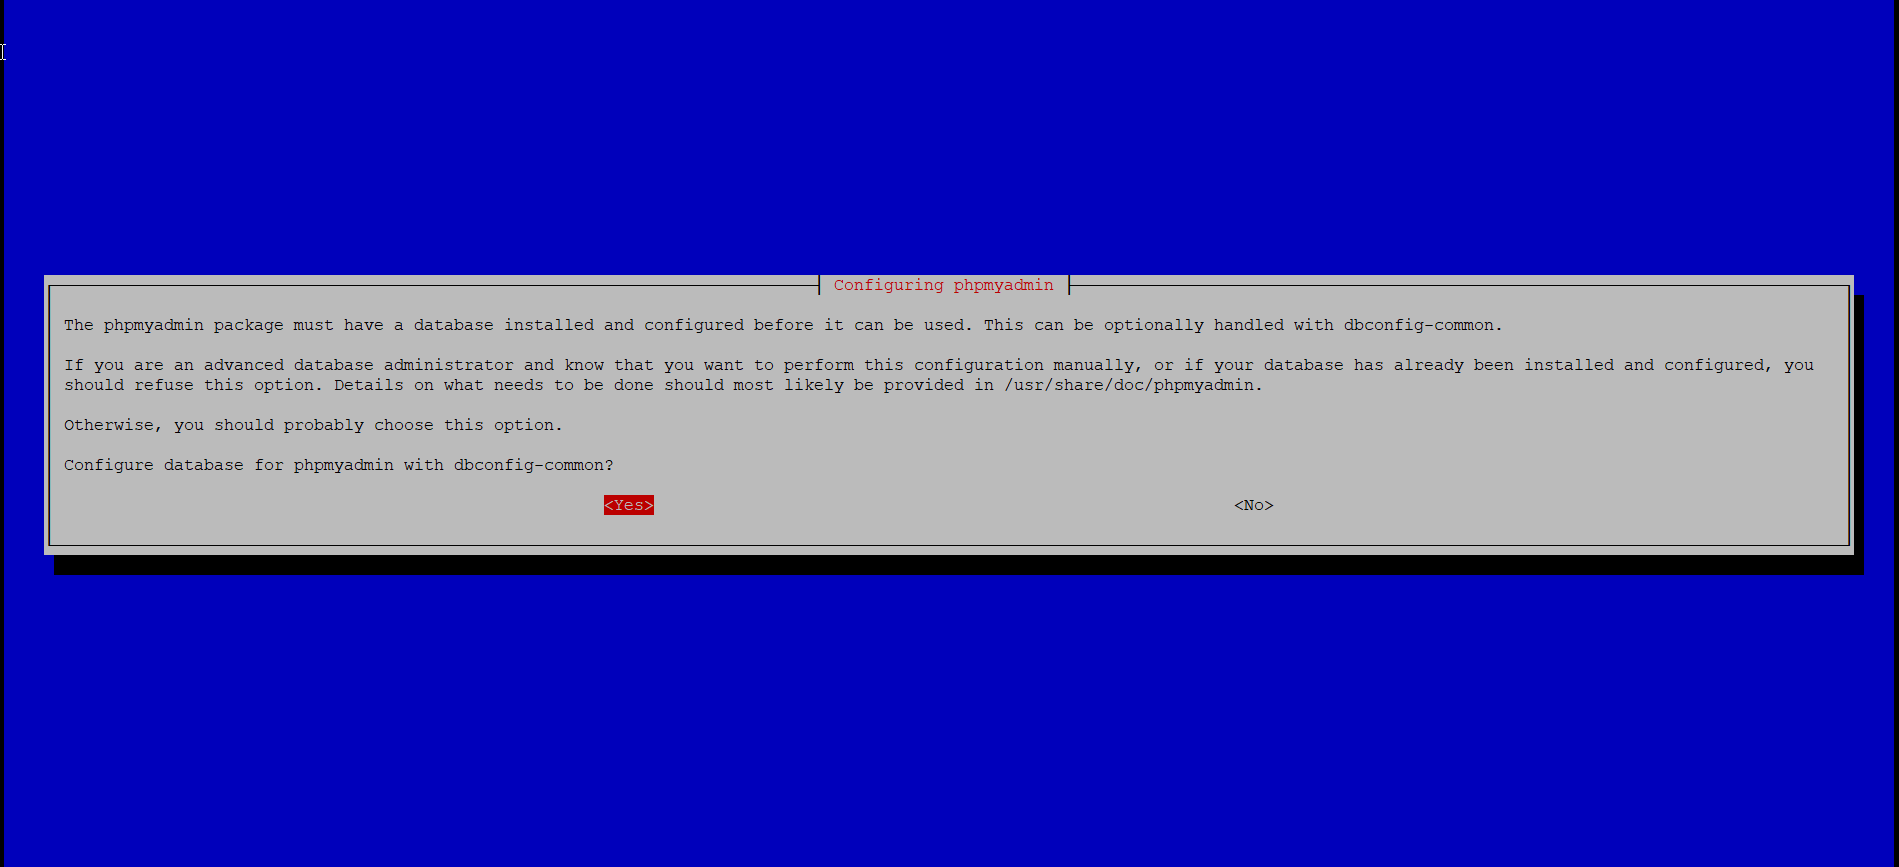
Configure it with dbconfig-common, and leave the password field empty:
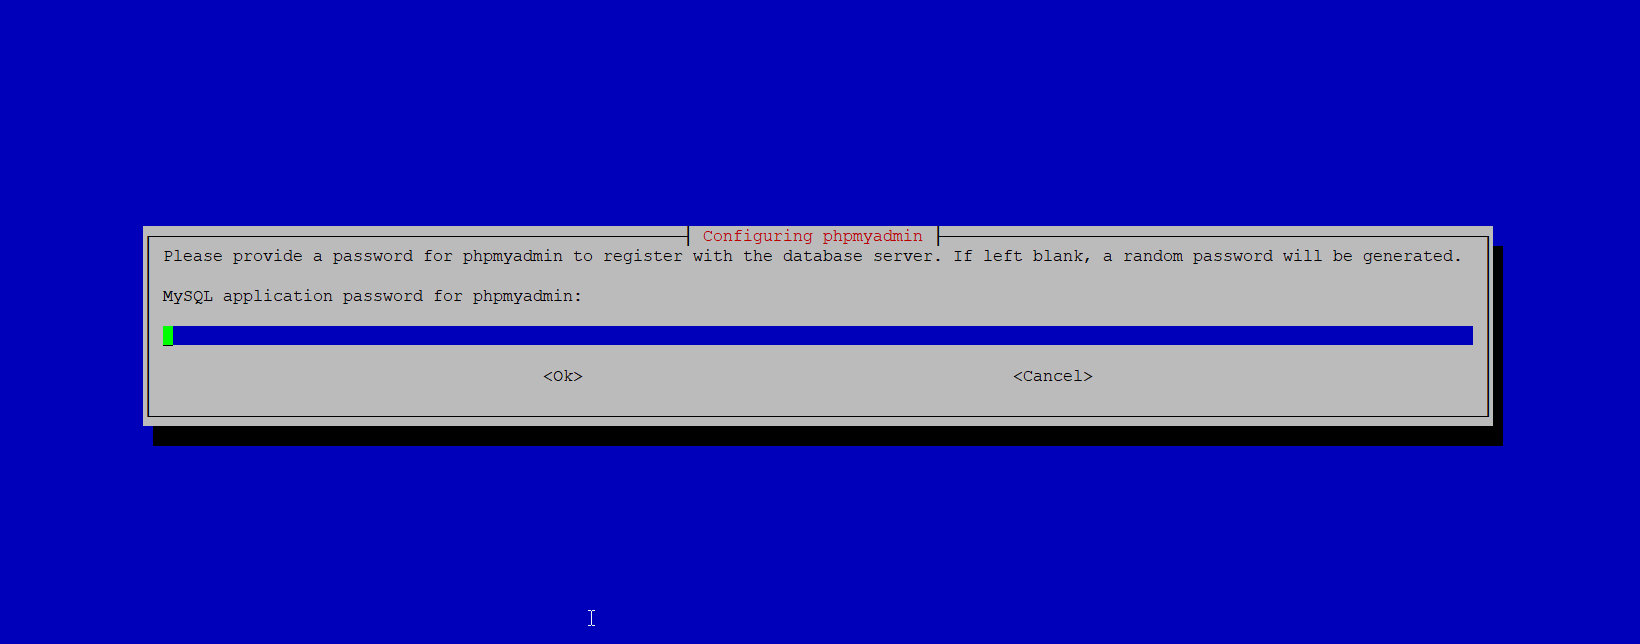
Let apt create a secure password automatically:
17. Install RoundCube Webmail (Optional)
Install the RoundCube webmail interface:
apt install roundcube roundcube-core roundcube-mysql roundcube-plugins
  Configure database for roundcube with dbconfig.common? --yes
  MySQL application password for roundcube: --press enter
Edit the Apache RoundCube configuration:
nano /etc/apache2/conf-enabled/roundcube.conf
  Alias /roundcube /var/lib/roundcube/public_html
  Alias /webmail /var/lib/roundcube/public_html
Reload Apache:
systemctl reload apache2
Edit the RoundCube Config file:
nano /etc/roundcube/config.inc.php
Replace the SMTP host line:
$config['smtp_host'] = 'localhost:25';
Access RoundCube at:
https://192.168.0.100:8081/webmail
https://www.example.com:8081/webmail
Explore integration plugins for ISPConfig: ISPConfig RoundCube Plugin Instructions.
18. Download ISPConfig 3.2
Download and extract ISPConfig 3:
cd /tmp
wget http://www.ispconfig.org/downloads/ISPConfig-3-stable.tar.gz
tar xfz ISPConfig-3-stable.tar.gz
cd ispconfig3_install/install/
19. Install ISPConfig
Start the installation process for ISPConfig:
php -q install.php
Follow the prompts to configure the installation details, as the script will manage service setup:
  Operating System: Debian 12.0 (Bookworm) or compatible
  Primary configuration...
  Select language (en,de) [en]: <-- press enter
  Install mode (standard,expert) [standard]: <-- press enter
  FQDN of the server [server1.example.com]: <-- press enter
  MySQL root password []: <-- enter your MySQL root password
  Admin password [8563a921]: <-- Enter your ISPConfig admin password, or press enter for default
  Do you want a secure connection (SSL) [y]: <-- press enter
Upon completion, access ISPConfig through:
http(s)://server1.example.com:8080/
http(s)://192.168.0.100:8080/
Use admin as the username and admin as the password (change this default password upon first login).
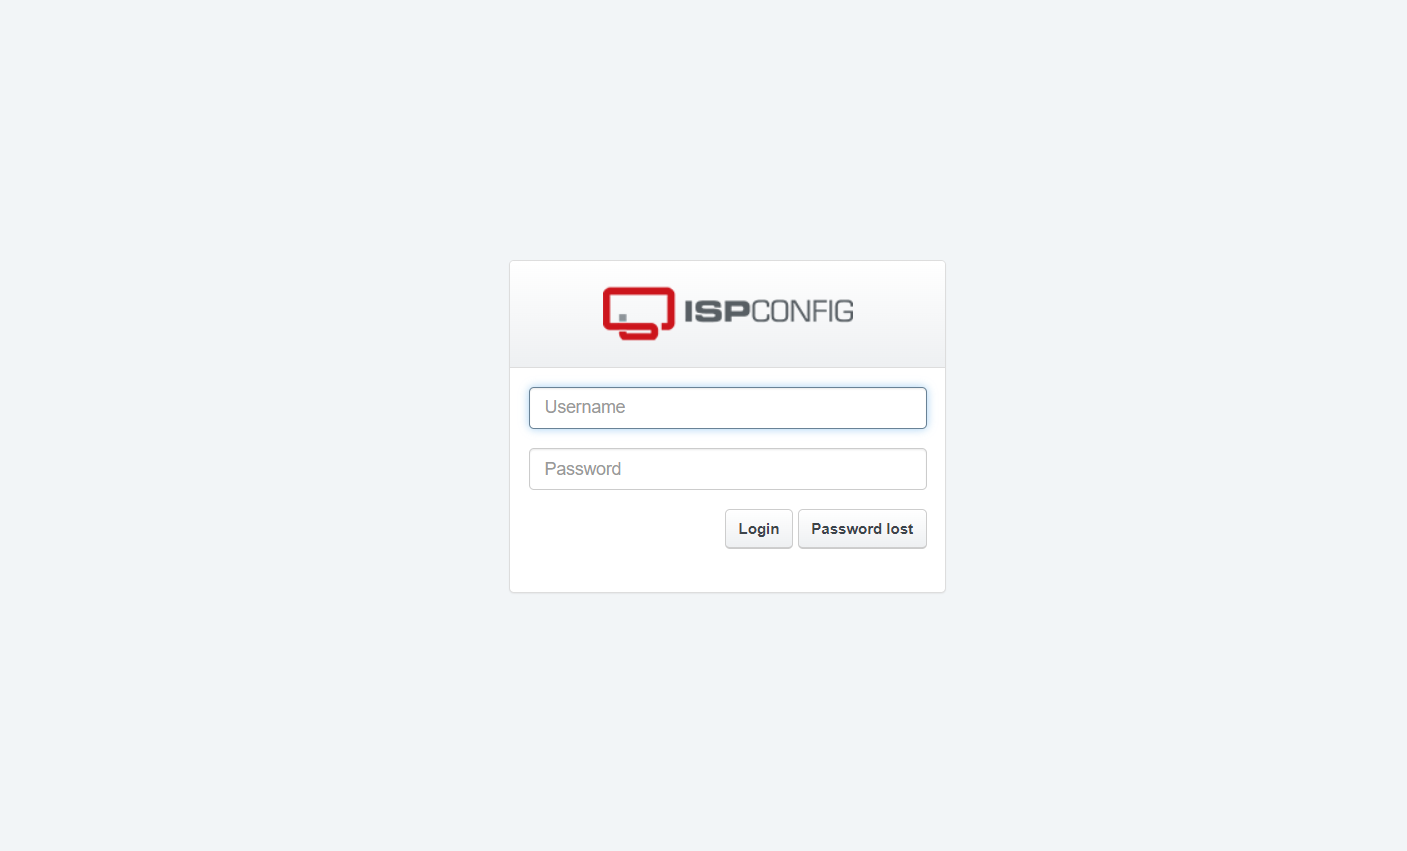
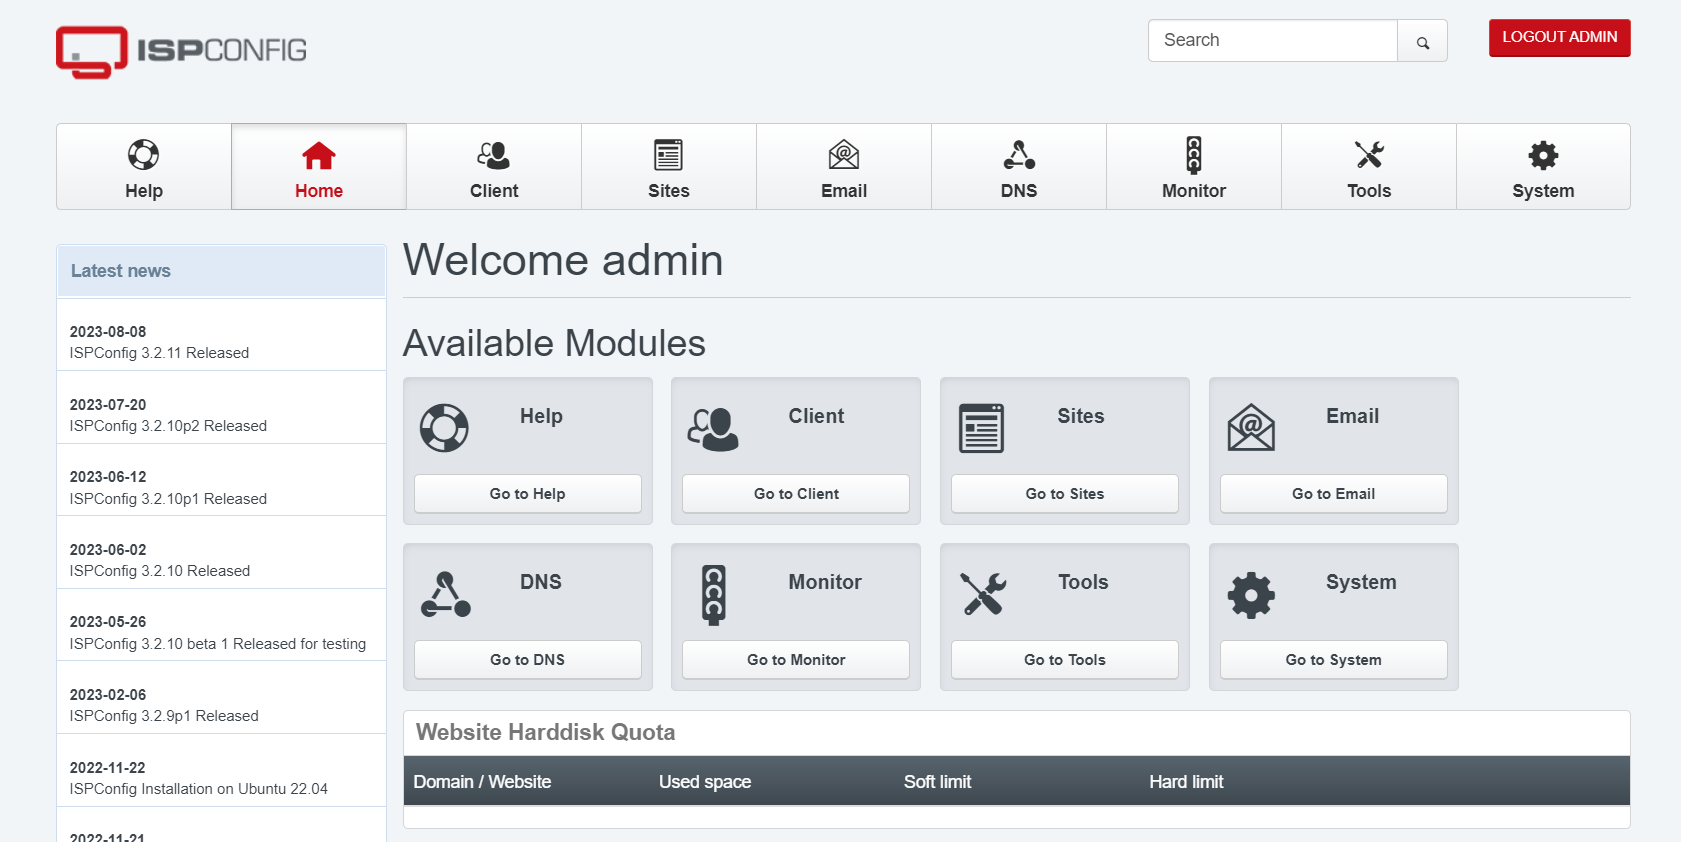
Your Debian server is now fully configured and ready for use.
20. ISPConfig 3 Manual
For comprehensive understanding, download the ISPConfig 3 Manual, an extensive guide of over 300 pages detailing installation, management, and troubleshooting.
21. Useful Links
- Debian: http://www.debian.org/
- ISPConfig: http://www.ispconfig.org/
Frequently Asked Questions
What is ISPConfig?
ISPConfig is a web hosting control panel that allows you to manage various server services through a web browser. It is flexible, supporting Apache or nginx web servers, mail services, databases, DNS, and more.
Is the installation process different for nginx?
Yes, this tutorial is specific to Apache. If you wish to use nginx, substitute the Apache instructions with nginx equivalents.
Why is ‘su –login’ recommended?
Using ‘su –login’ ensures that your environment, especially the PATH variable, is set correctly. This prevents potential issues with executing commands that are not in the standard user PATH.
What are quotas used for?
Quotas in Linux systems limit the amount of disk space and number of files a user or group can use. Properly setting quotas ensures efficient use of storage and prevents overuse by any single user or service.
Should I use the manual or auto-installer method for ISPConfig?
The auto-installer is recommended for ease and speed, ensuring dependencies and configurations are handled automatically. The manual method, while more comprehensive and instructive, requires significant time and diligence.
