Laravel is a popular open-source PHP framework designed for web application development. It follows the MVC (Model-View-Controller) architectural pattern. Taylor Otwell introduced Laravel in 2011 as a sophisticated alternative to the CodeIgniter (CI) framework.
The initial versions 1 and 2 of Laravel were released in 2011. Over the years, numerous enhancements have been integrated, including a versioning scheme, support policy, Blade Component Tags, Fluent String Operations, Route Model Binding Improvements, and more, culminating in the current version 8.x.
This guide will walk you through installing the latest Laravel version 8.x on an Ubuntu 20.04 server using the Apache web server. We will explore two different methods to set up Laravel on a Linux system.
Prerequisites
- Ubuntu 20.04 System
- 2 GB or more RAM
- Root privileges
- Familiarity with basic Debian/Ubuntu system commands
What Will We Do?
- Install Apache Web Server
- Install and Configure PHP 7.4
- Install Composer PHP Packages Management
- Install Laravel Web Framework
- Set Up Apache Virtual Host for Laravel Project
- Testing
Step 1 – Install Apache Web Server
Start by installing the Apache web server on your Ubuntu 20.04 system and configuring the UFW firewall to allow only necessary incoming connections for services like SSH, HTTP, and HTTPS.
Update the system’s repositories and install Apache using the following commands:
    sudo apt update
    sudo apt install apache2
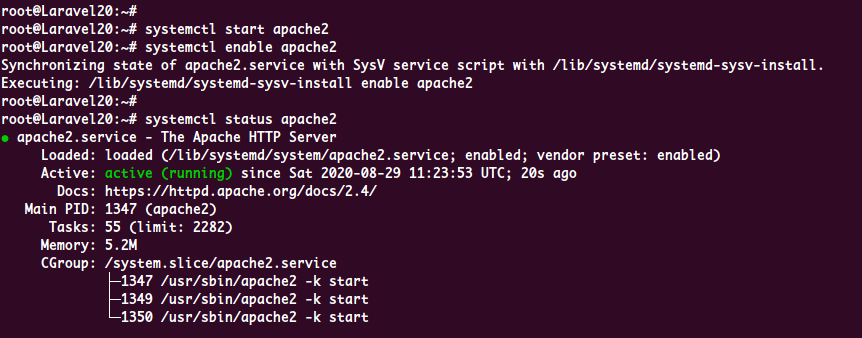
Start the Apache service and enable it to run at system boot:
    systemctl start apache2
    systemctl enable apache2
Check the Apache service status:
systemctl status apache2
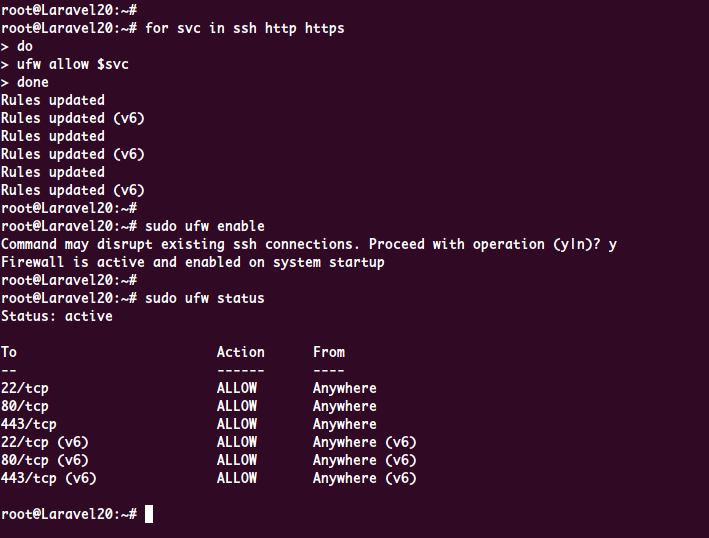
To configure UFW to allow SSH, HTTP, and HTTPS services, run:
    for svc in ssh http https
    do
      ufw allow $svc
    done
Enable UFW firewall services:
sudo ufw enable
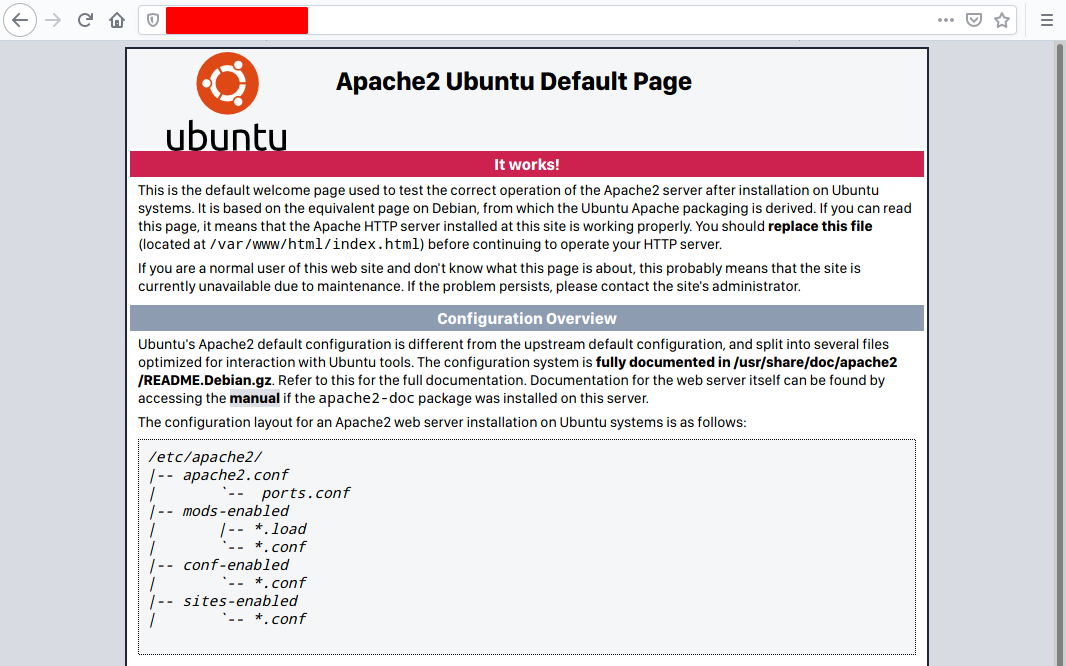
Verify the server installation by navigating to your server’s IP address in a web browser. You should see the default Apache index page.
http://10.5.5.25
Step 2 – Install and Configure PHP 7.4
Laravel 8.x requires PHP version >= 7.2.5. Ubuntu 20.04’s default repositories include PHP 7.4 packages.
Install PHP 7.4 packages:
sudo apt install libapache2-mod-php php php-common php-xml php-gd php-opcache php-mbstring php-tokenizer php-json php-bcmath php-zip unzip
Edit the PHP configuration file:
    cd /etc/php/7.4/
    vim apache2/php.ini
Uncomment and set cgi.fix_pathinfo to 0:
cgi.fix_pathinfo=0
Restart Apache to apply changes:
systemctl restart apache2
Step 3 – Install Composer PHP Packages Management
Composer is a dependency manager for PHP, facilitating the installation of PHP libraries.
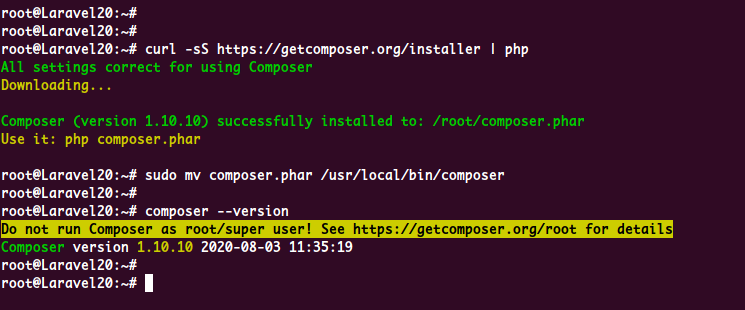
Download and install Composer:
    curl -sS https://getcomposer.org/installer | php
    sudo mv composer.phar /usr/local/bin/composer
Verify the installation:
composer --version
Step 4 – Install Laravel 8.x on Ubuntu 20.04
– Install Laravel via Laravel Installer
Create a non-root user for installation:
    useradd -m -s /bin/bash hakase
    passwd hakase
    su - hakase
Install Laravel Installer:
composer global require laravel/installer
Add the Laravel installer to your PATH:
vim ~/.bashrc
Add the following line at the end:
export PATH="$HOME/.config/composer/vendor/bin:$PATH"
Source the .bashrc:
    source ~/.bashrc
    echo $PATH
Create a new Laravel project:
laravel new blog
Ensure appropriate permissions:
    sudo chgrp -R www-data /home/hakase/blog
    sudo chmod -R 775 /home/hakase/blog/storage
– Install Laravel via Composer create-project
Create a Laravel project in the /var/www/:
    cd /var/www/
    composer create-project --prefer-dist laravel/laravel blog
Adjust permissions:
    sudo chown -R www-data:www-data /var/www/blog
    sudo chmod -R 775 /var/www/blog/storage
Step 5 – Setup Apache for Laravel Project
Create a new Apache virtual host configuration for Laravel:
    cd /etc/apache2/sites-available/
    vim laravel.conf
Configuration template:
  <VirtualHost *:80>
      ServerName hakase-labs.io
      ServerAdmin admin@hakase-labs.io
      DocumentRoot /home/hakase/blog/public
      <Directory /home/hakase/blog>
          Options Indexes MultiViews
          AllowOverride None
          Require all granted
      </Directory>
      ErrorLog ${APACHE_LOG_DIR}/error.log
      CustomLog ${APACHE_LOG_DIR}/access.log combined
  </VirtualHost>
Activate the configuration:
    sudo a2enmod rewrite
    sudo a2ensite laravel.conf
    apachectl configtest
    systemctl restart apache2
Step 6 – Testing
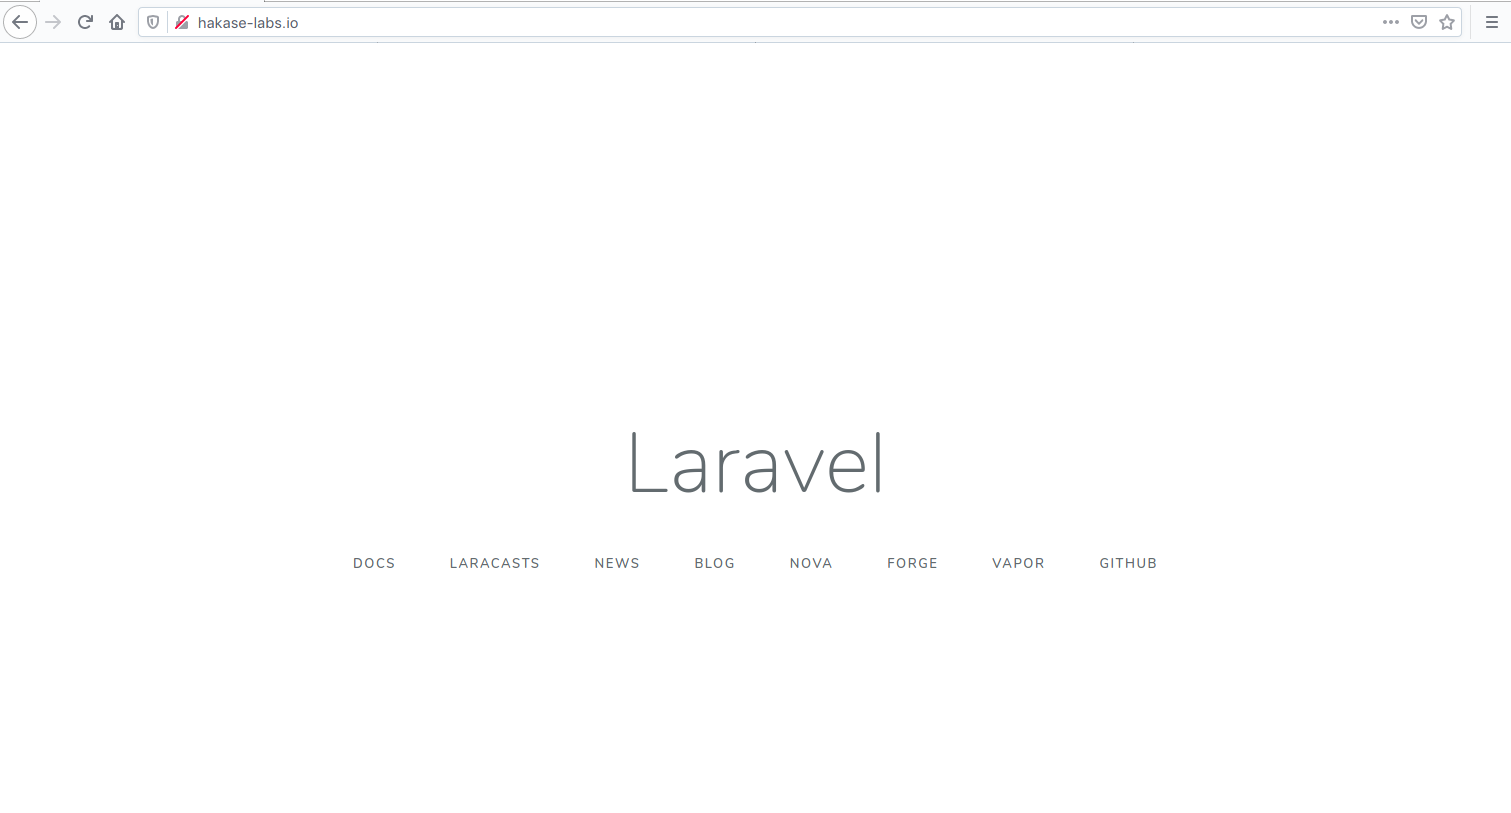
Visit your domain or server IP to view the Laravel default page.
http://hakase-labs.io
References
FAQs
1. Can I install Laravel on a version of Ubuntu other than 20.04?
Yes, Laravel can be installed on other versions of Ubuntu and other Linux distributions. However, you may need to adjust the package versions, especially for PHP.
2. Can I use a different web server other than Apache?
Yes, Laravel is compatible with other web servers like Nginx. You will need to set up the server configuration accordingly.
3. What should I do if I encounter permission issues?
Ensure that webserver user permissions and group settings are correctly configured, adjusting directory permissions as needed.
4. Is Composer required for Laravel installation?
Yes, Composer is necessary to manage PHP dependencies and is crucial for installing Laravel and its dependencies.
5. What is the difference between installing via Laravel Installer and Composer?
The Laravel Installer is a tool designed for developers to quickly start projects, while Composer allows for more comprehensive package management and is typically used if installing in webserver directories directly.
