This comprehensive guide will walk you through the installation of an Ubuntu 22.04 LTS base server, enhanced with clear screenshots for ease of setup. Using the LTS branch ensures stability, as it comes with a five-year update support from Ubuntu, making it ideal for server environments. This guide sets the foundation for other Ubuntu tutorials here at HowtoForge, such as our perfect server guides.
1. Requirements
To successfully install an Ubuntu Server, ensure you have the following:
- Download the Ubuntu 22.04 server ISO image from: Ubuntu 22.04 Live Server ISO (For 64Bit Intel and AMD CPUs). For other versions, visit: Ubuntu Releases
- A fast internet connection to facilitate download of package updates from Ubuntu servers during installation.
2. Preliminary Note
In this walkthrough, I use server1.example.com as the hostname, with IP 192.168.0.100 and gateway 192.168.0.1. Adjust these settings according to your network configuration.
3. Installing the Ubuntu 22.04 Base System
Begin by booting from the Ubuntu installation media. If using a virtual machine, select the downloaded ISO as the CD/DVD source in VMWare or VirtualBox.
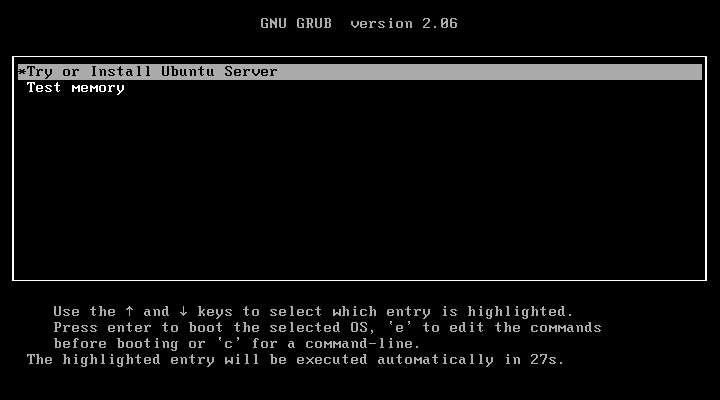
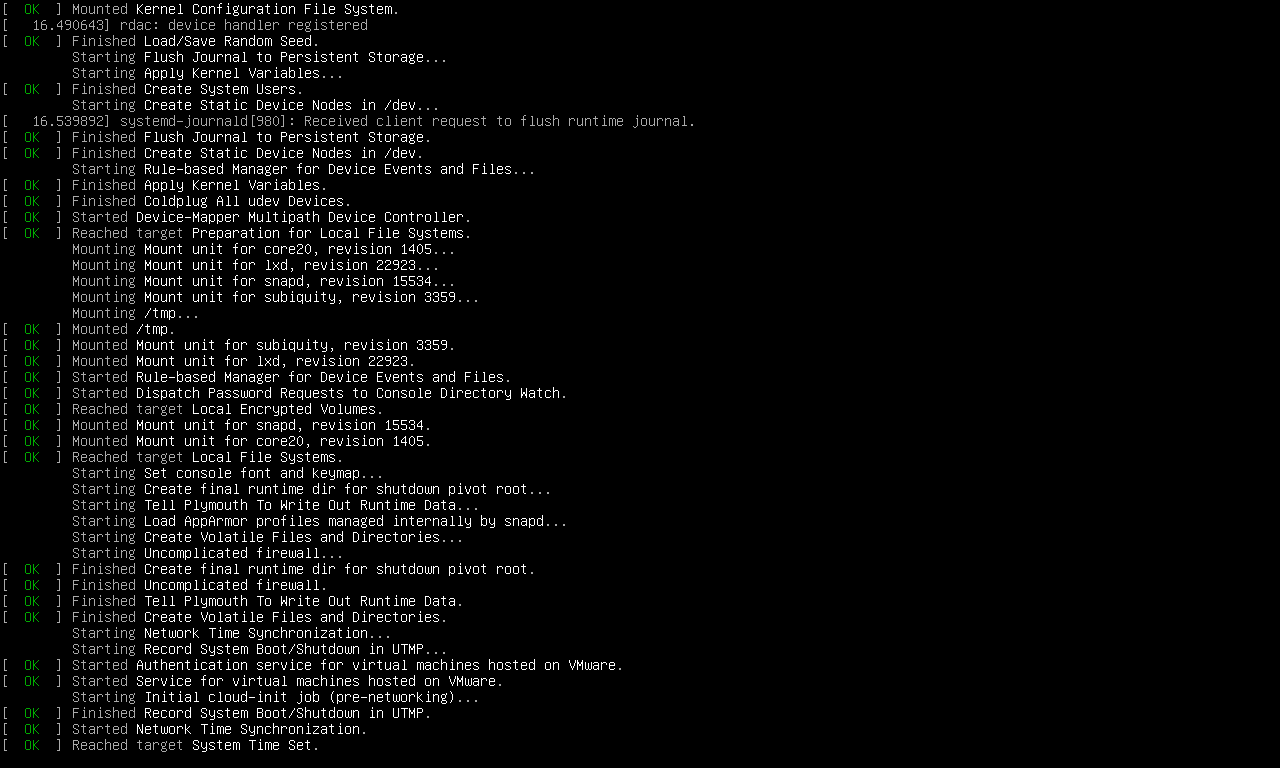
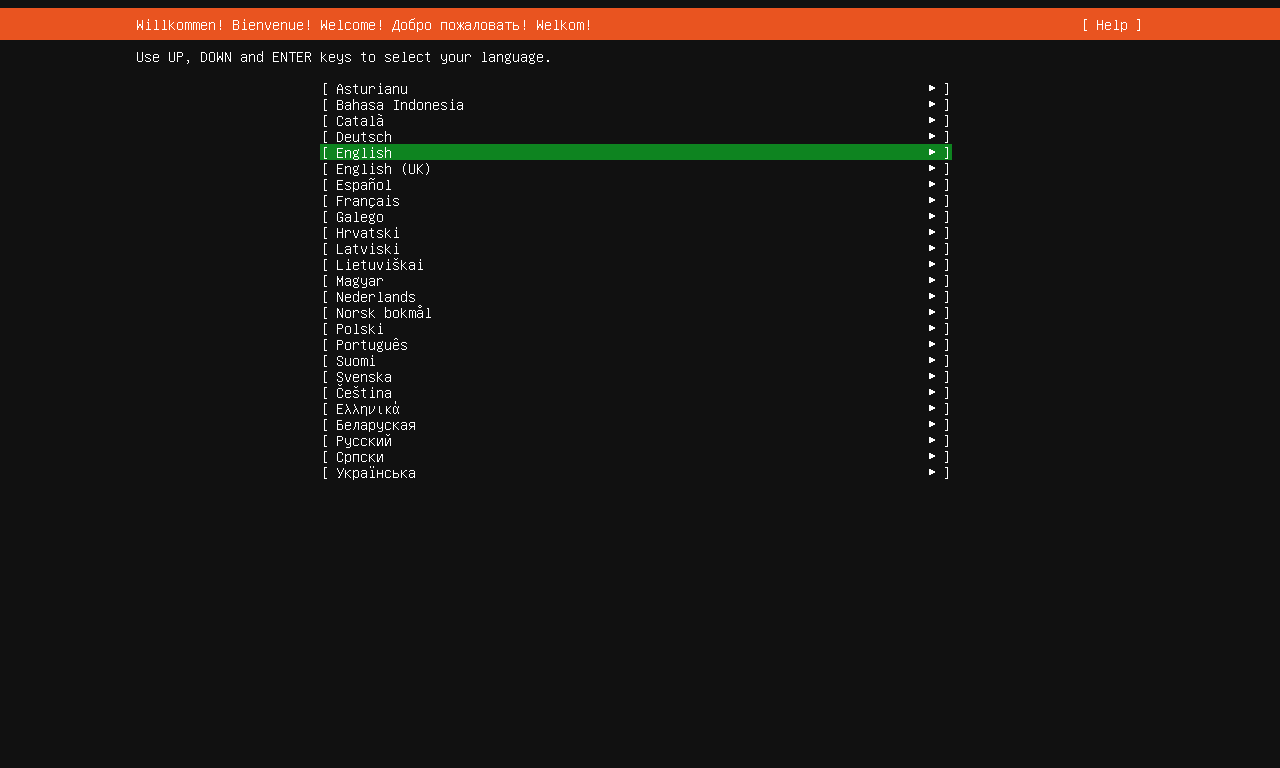
The first screen is the language selector. Choose your language:
Select your keyboard layout. The default English layout is suitable for most users. If you need to change it (e.g., German layout), navigate and select accordingly:
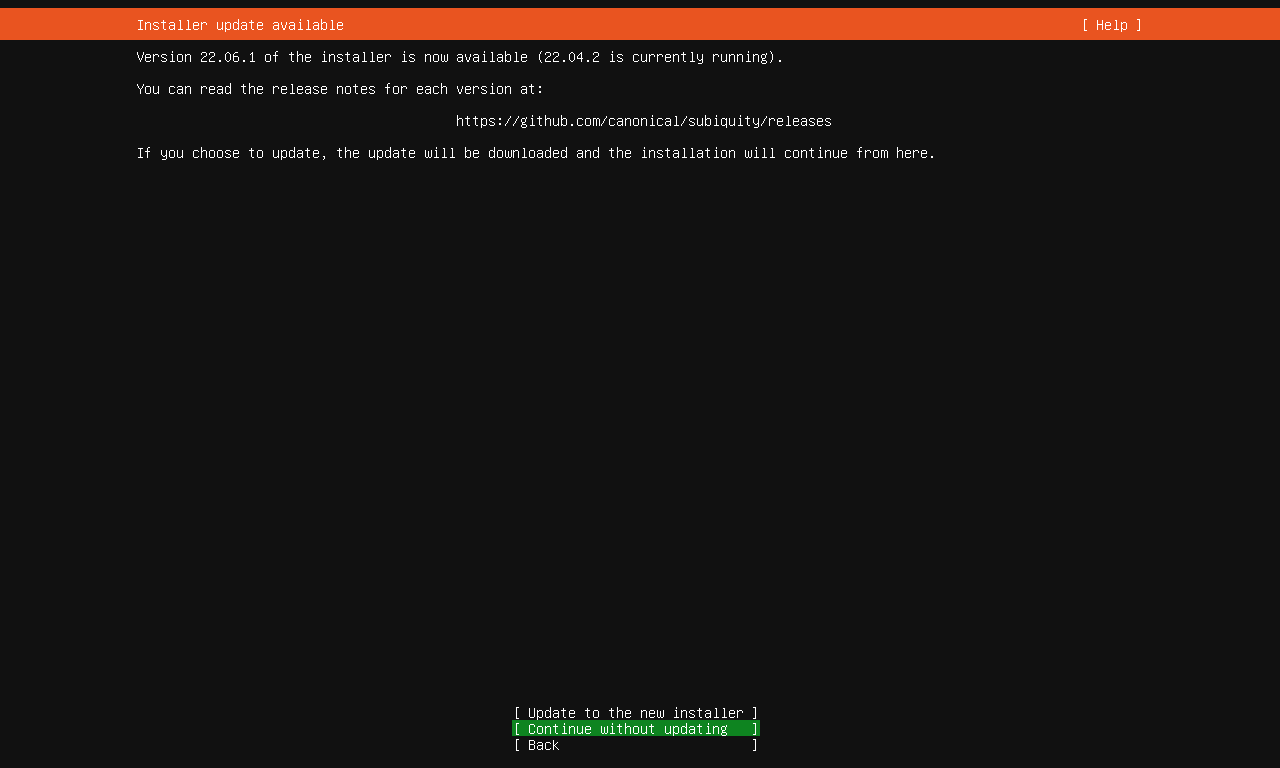
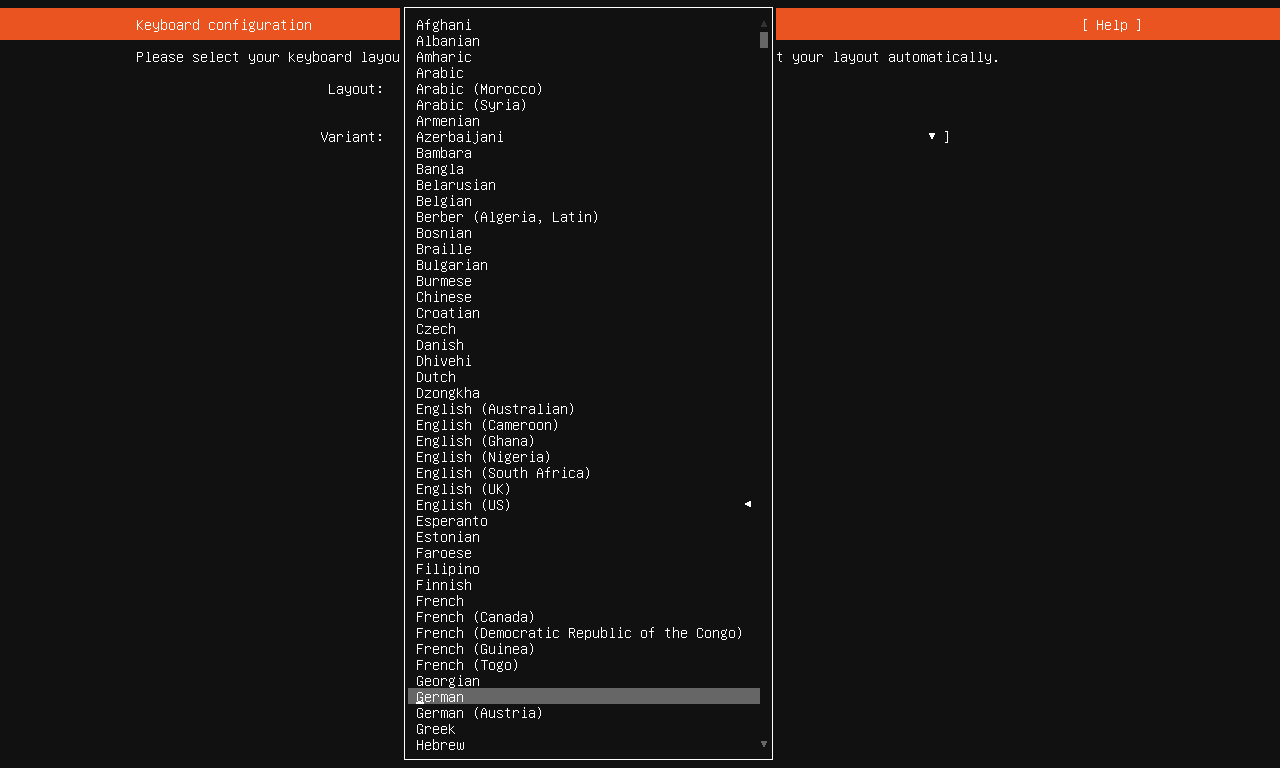
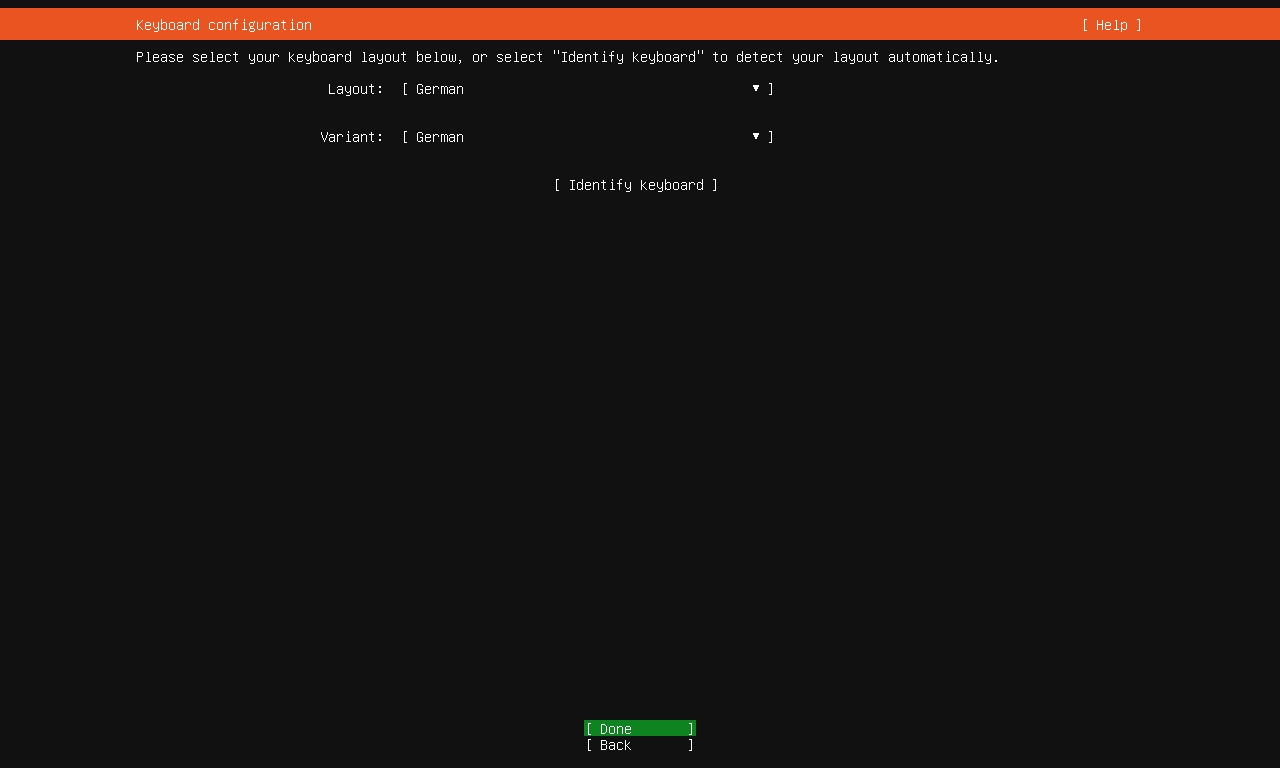
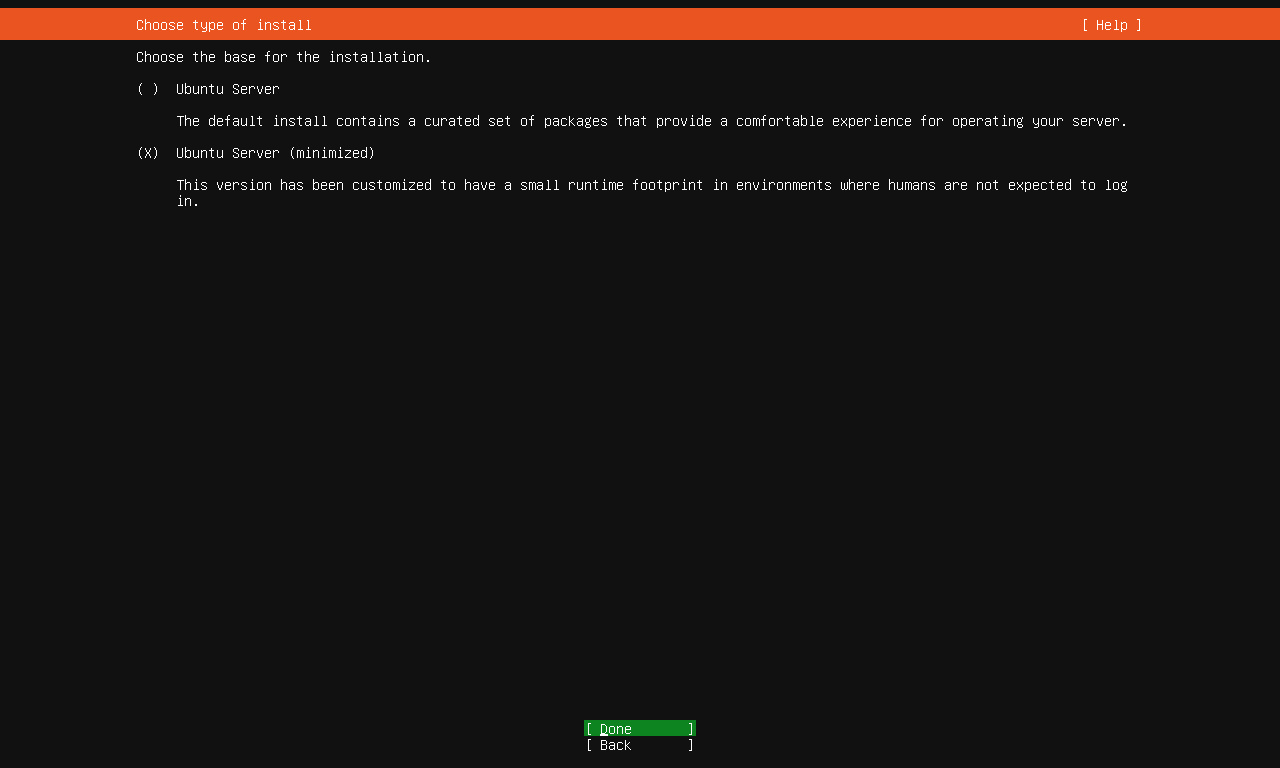
Select between a standard or minimal setup. I recommend the minimal setup for targeted software installation later, especially useful for virtual servers:
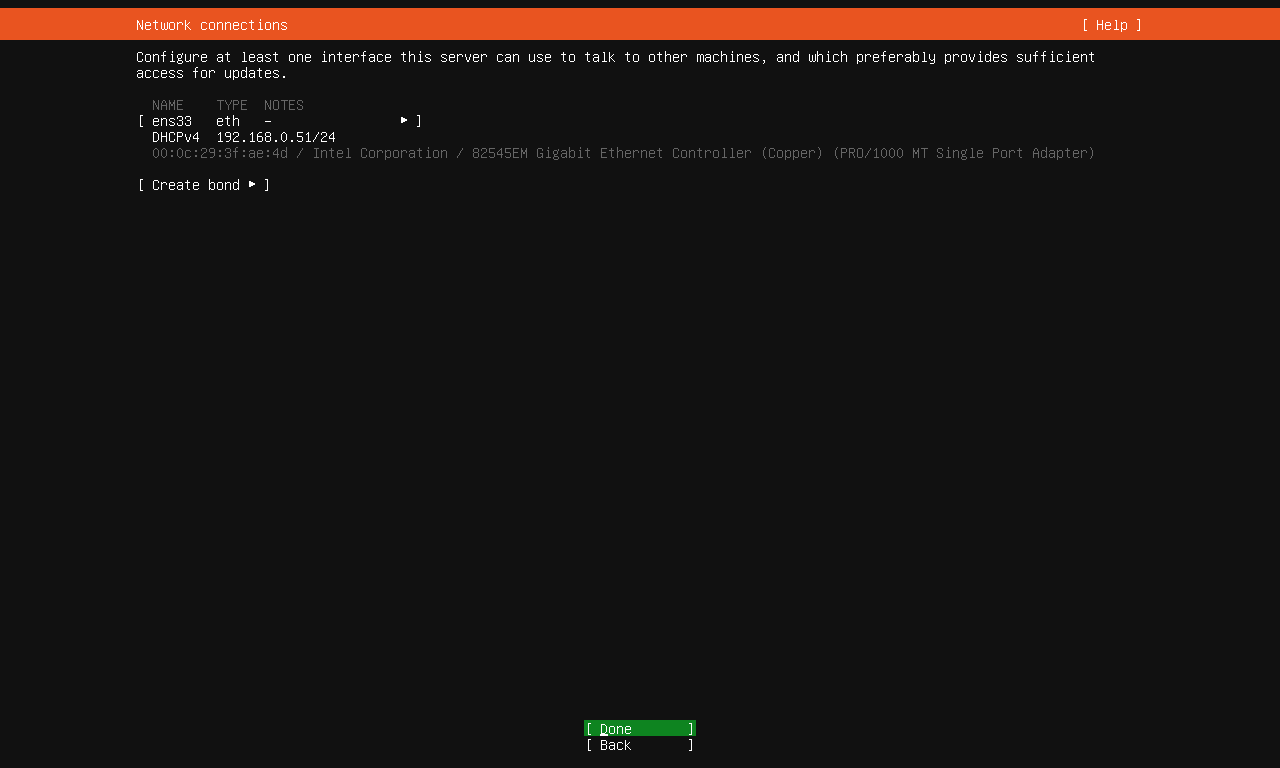
You’ll see the detected network cards. The default IPv4 configuration is DHCP, which we can switch to static later. Set a static IP if needed:
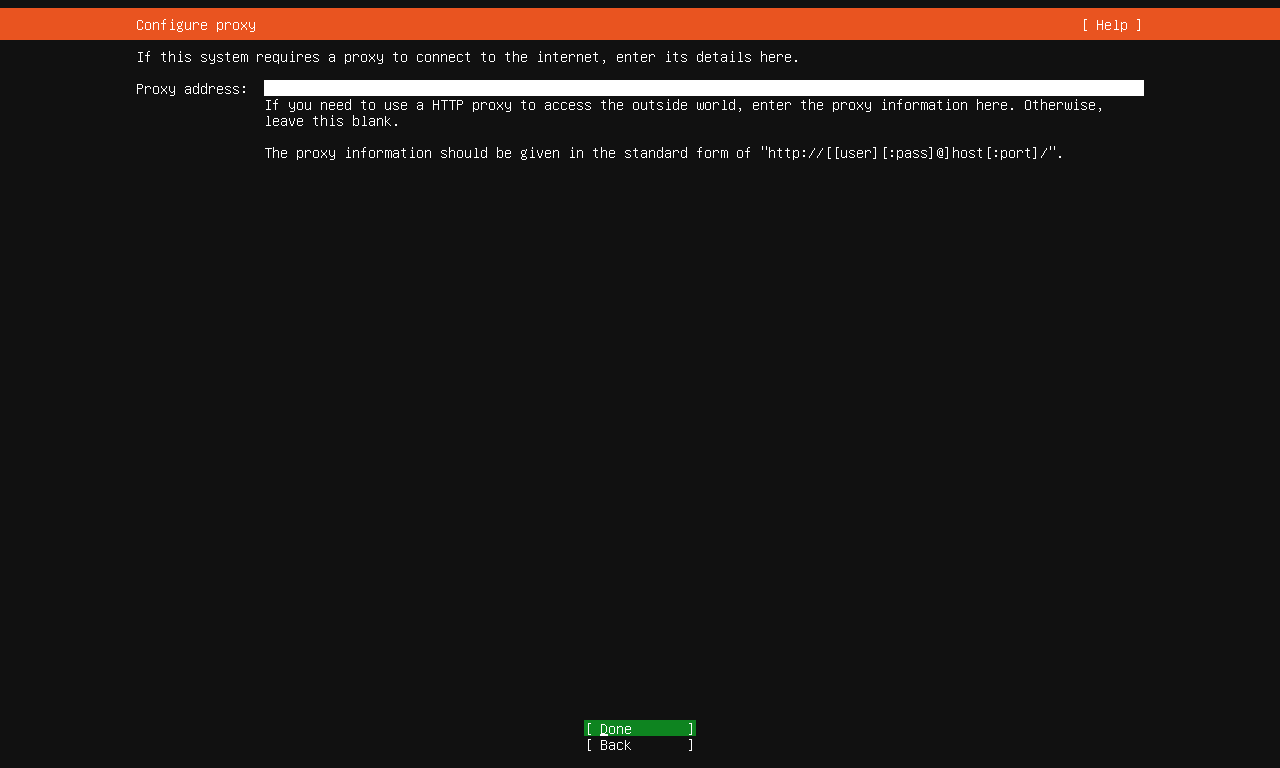
Configure a proxy server if required. Otherwise, continue without changes:
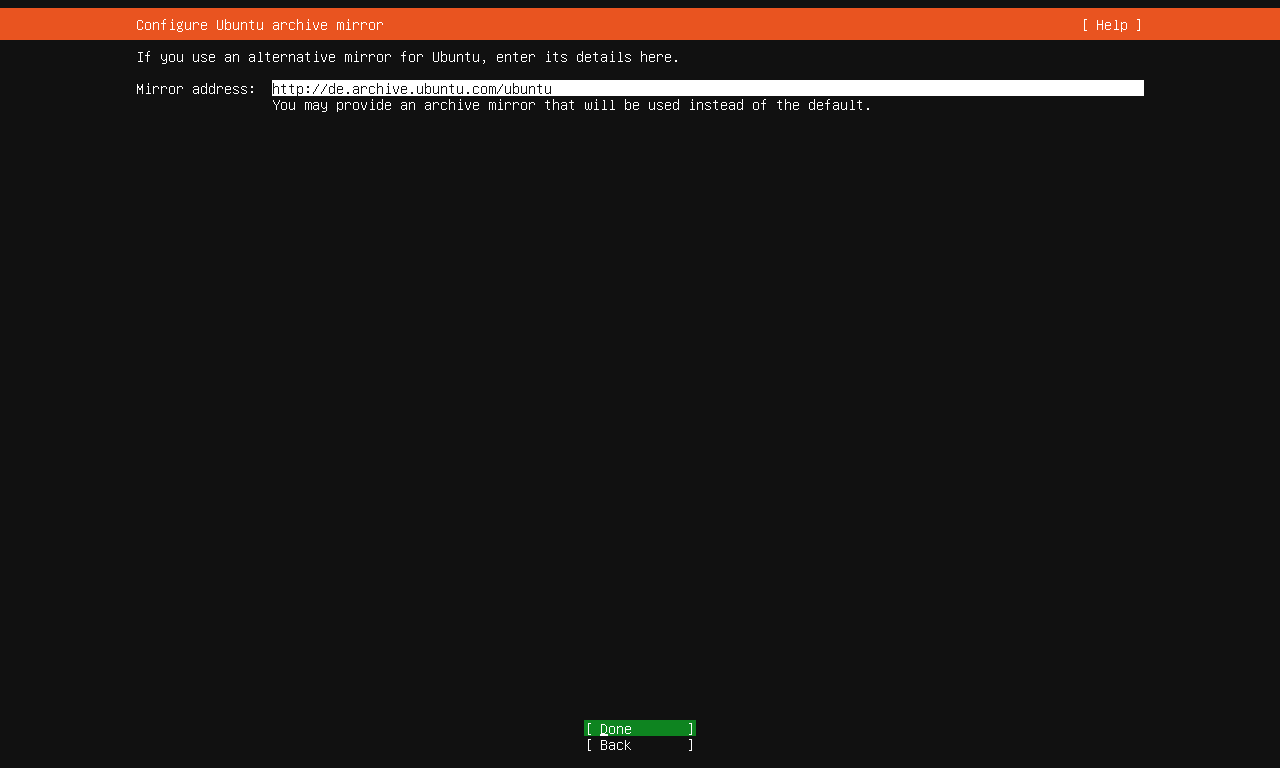
Select your preferred Ubuntu mirror for downloading updates and installation files. The default should work for most:
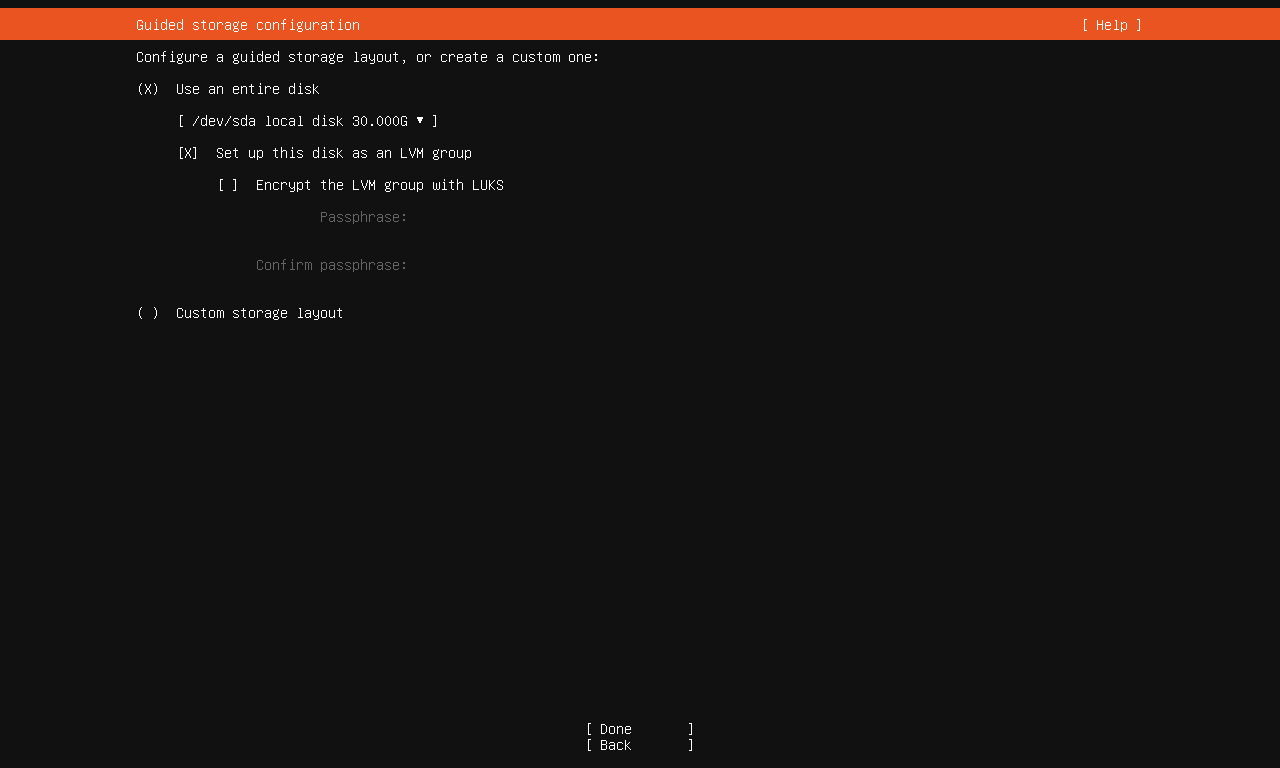
The installer will detect available hard disks. Use the entire disk for installation unless a custom partition layout is needed:
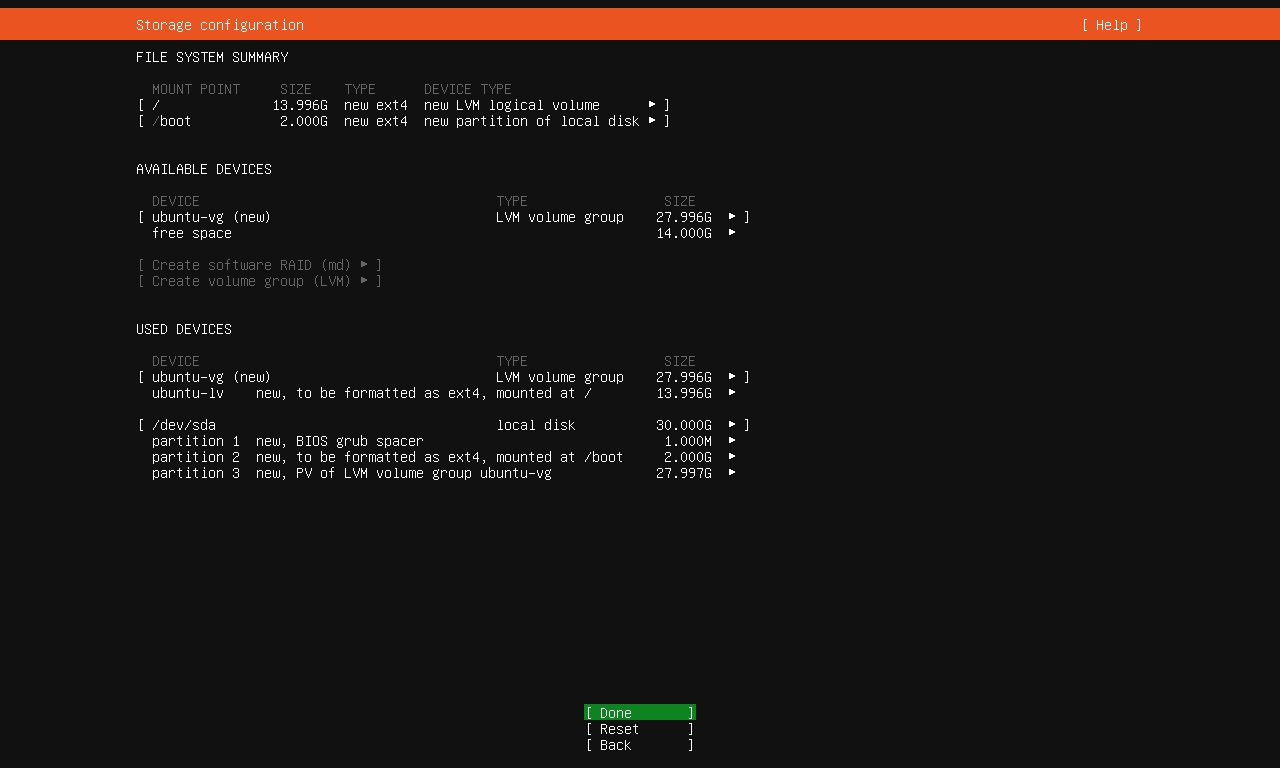
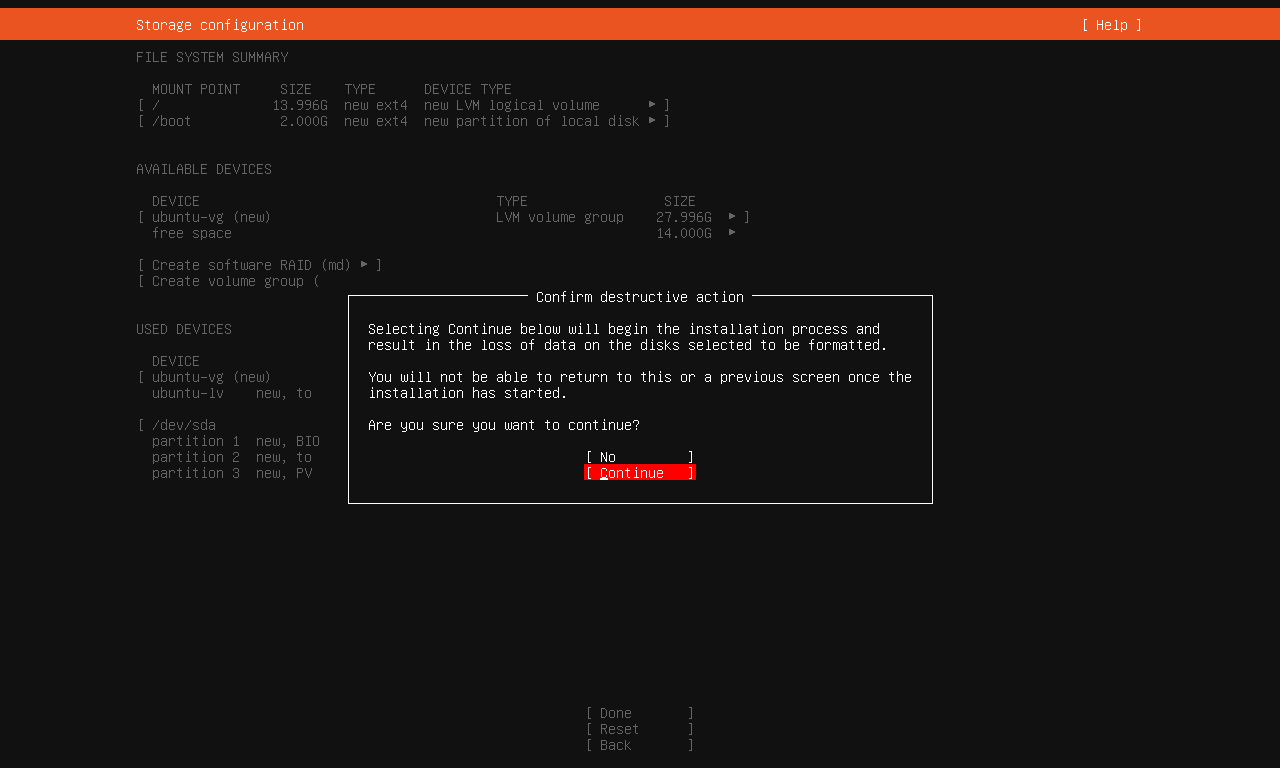
Confirm partitioning choices to proceed with installation:
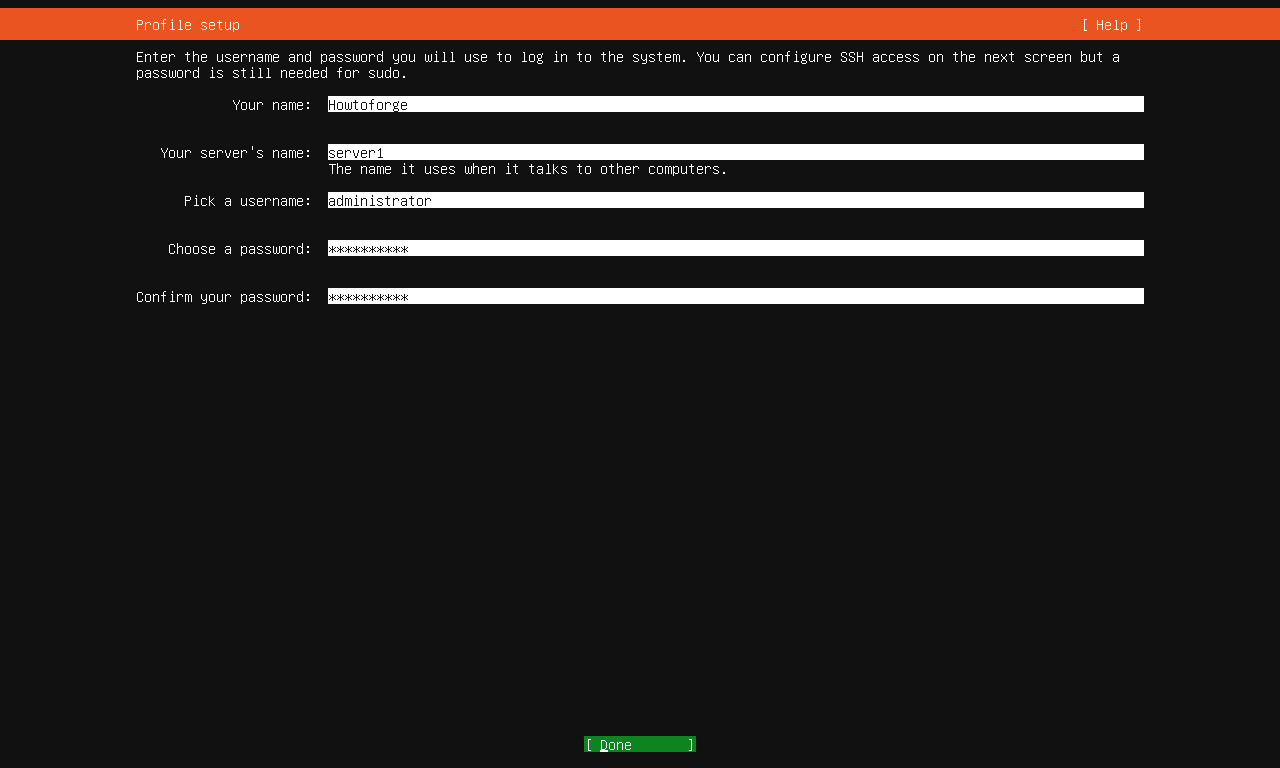
Set the hostname, admin username, and password. The admin user can elevate privileges with sudo:
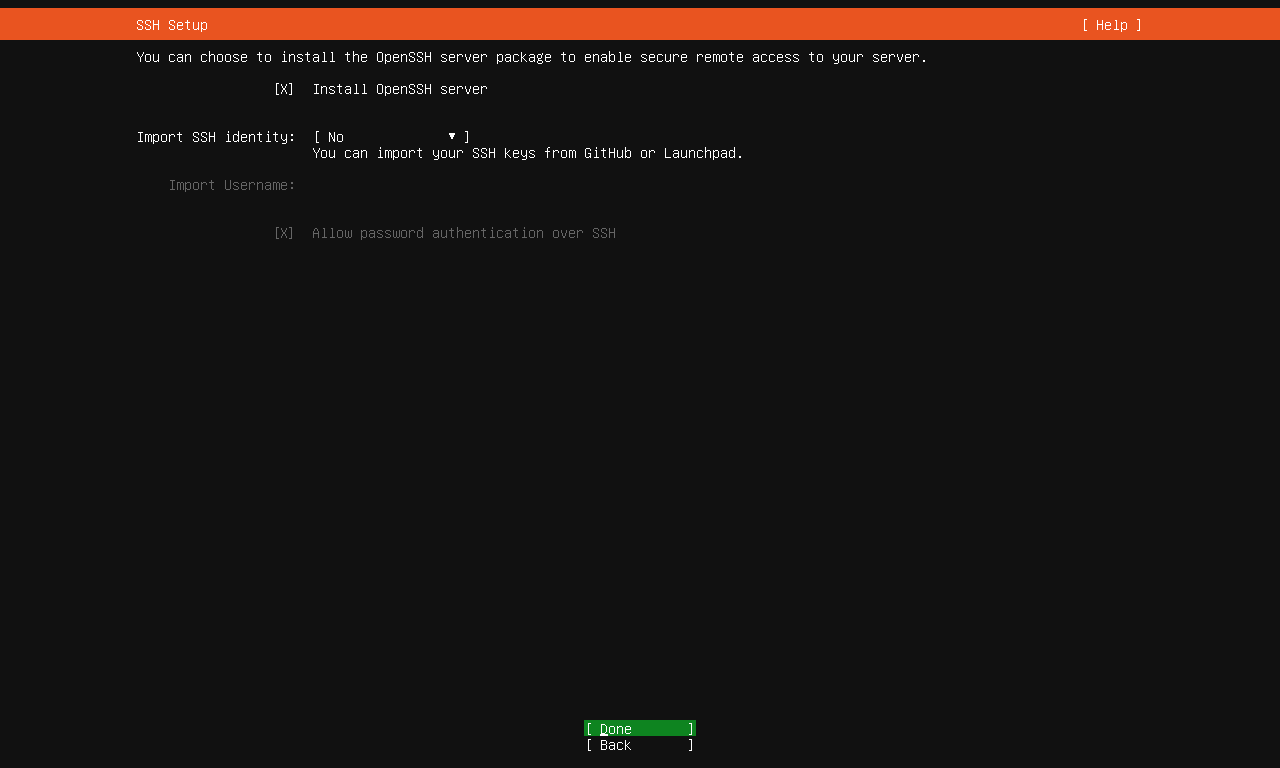
Install the SSH server to enable remote management. Check “Install OpenSSH Server” for easy access:
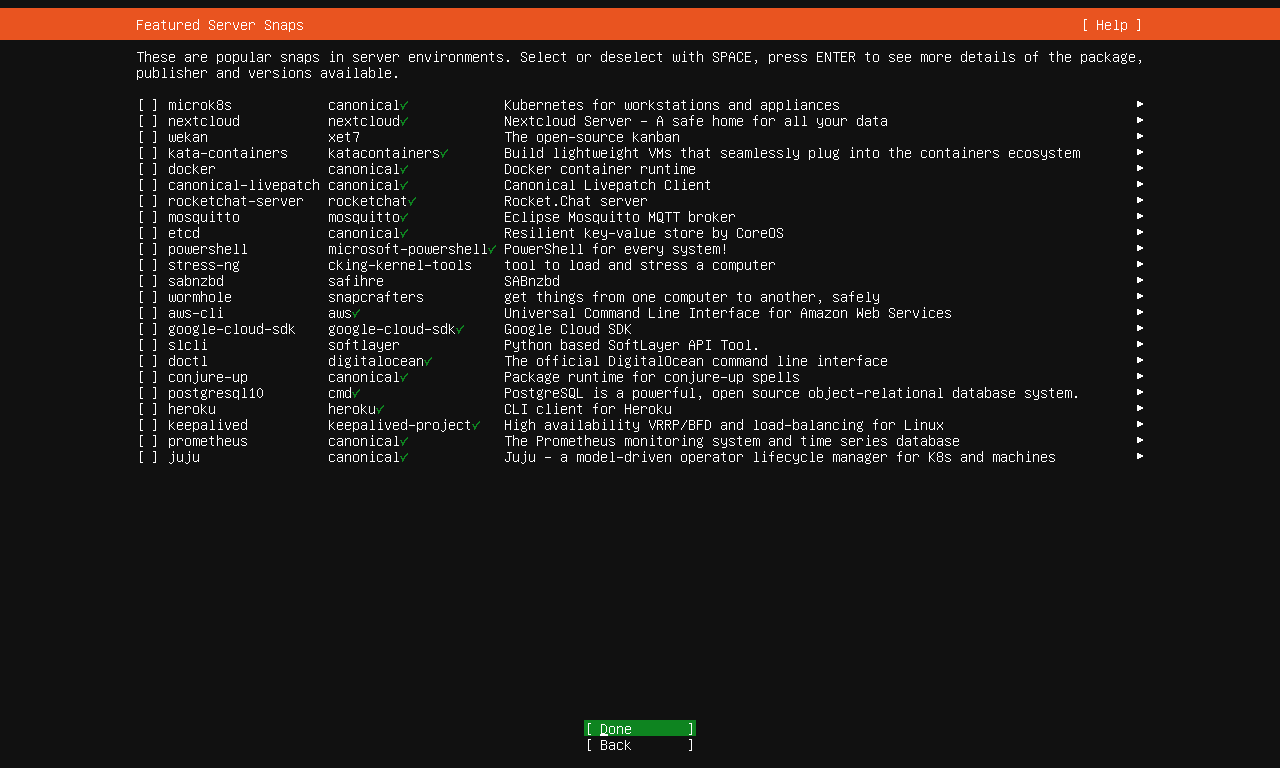
Decide on installing common services via Snap; none are selected here to remain minimal:
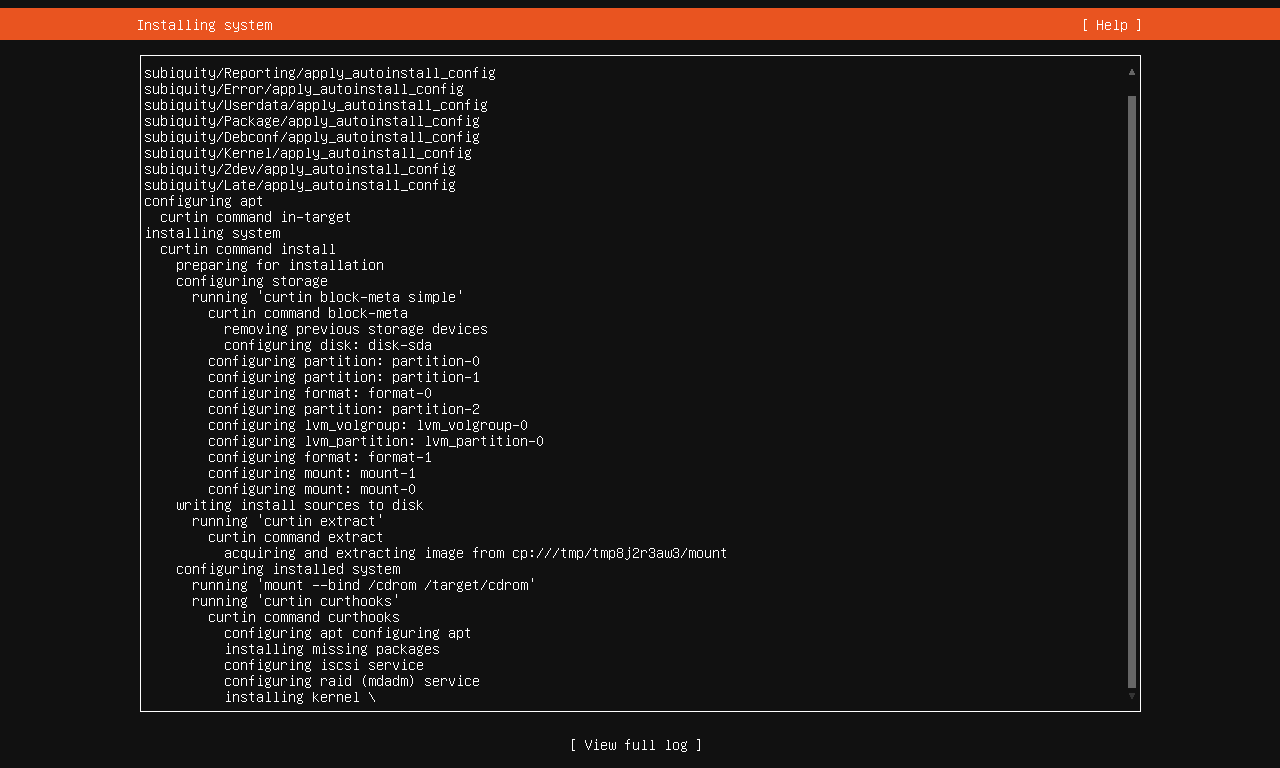
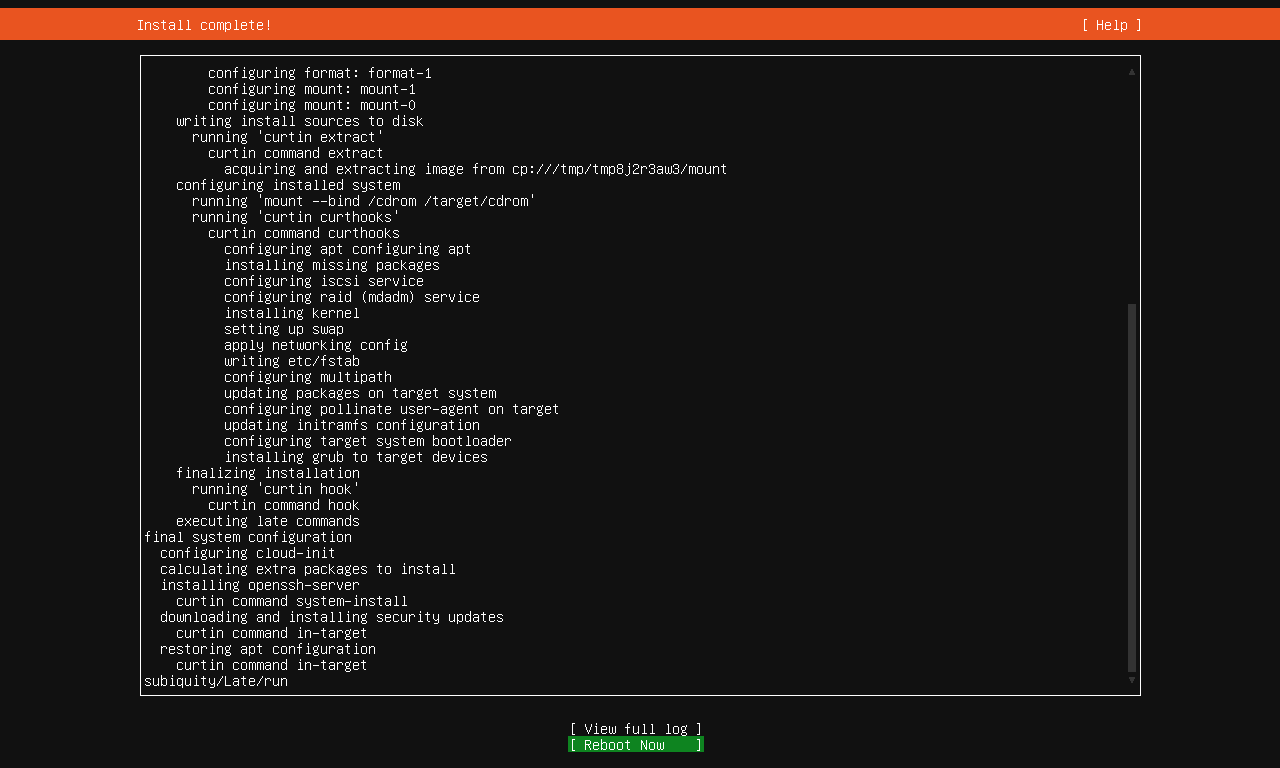
The installation continues with the configurations set. Once finished, reboot the system:
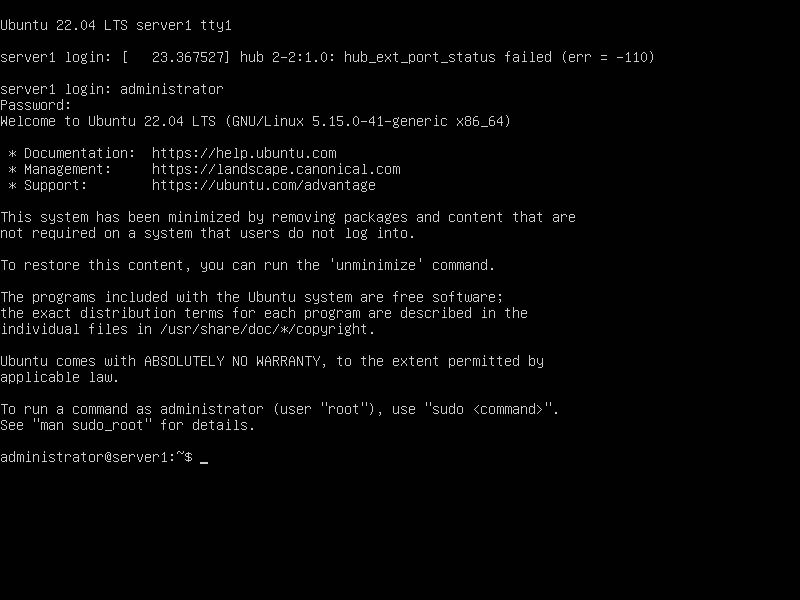
4. First Login
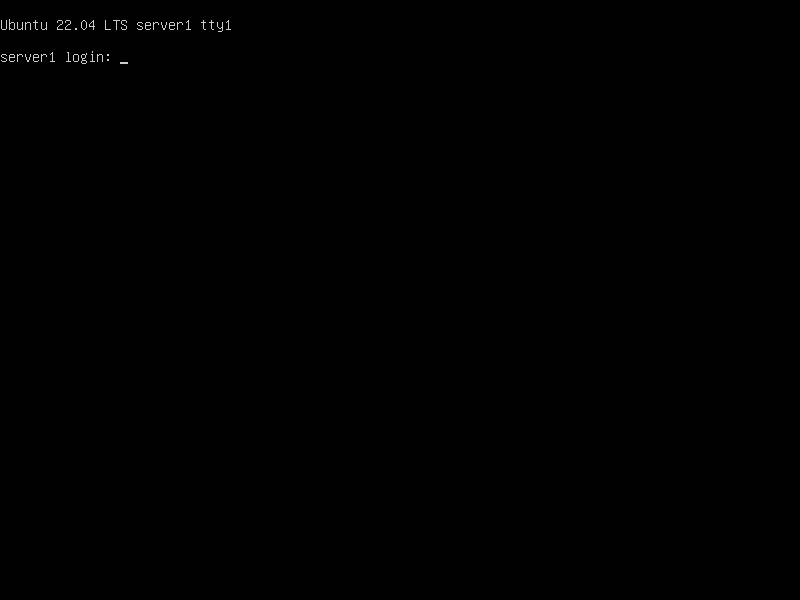
Log in as the user you created (e.g., “administrator”) on the console or via SSH:
5. Get root Privileges
To execute commands needing root access, use sudo for each or become the root user:
sudo -s
To enable root login, assign a password (this is not recommended for security reasons):
sudo passwd root
6. Install the SSH Server (Optional)
To install OpenSSH server if skipped earlier:
sudo apt -y install ssh openssh-server
Use SSH clients like PuTTY to connect remotely.
7. Install a shell-based editor (Optional)
Install text editors. Nano is user-friendly; Vim is preferred by experienced users:
sudo apt -y install nano vim-nox
8. Configure the Network
Install necessary network tools:
sudo apt install net-tools
Set up a static IP (recommended for servers). Edit /etc/netplan/00-installer-config.yaml:
sudo nano /etc/netplan/00-installer-config.yaml
Example content for static IP configuration:
# This file is for network interface configuration
network:
 version: 2
 renderer: networkd
 ethernets:
   ens33:
     dhcp4: no
     dhcp6: no
     addresses: [192.168.0.100/24]
     routes:
      - to: default
        via: 192.168.0.1
     nameservers:
       addresses: [8.8.8.8,8.8.4.4]
Note: Pay attention to line indentations.
Apply the network changes:
sudo netplan generate
sudo netplan apply
Modify /etc/hosts accordingly:
sudo nano /etc/hosts
Example /etc/hosts file:
127.0.0.1 localhost
192.168.0.100 server1.example.com server1
# Lines for IPv6 capable hosts
::1 localhost ip6-localhost ip6-loopback
ff02::1 ip6-allnodes
ff02::2 ip6-allrouters
Set the hostname persistently:
sudo hostnamectl set-hostname server1
Verify with:
hostname
hostname -f
Reconfigure keyboard layout if needed:
sudo dpkg-reconfigure keyboard-configuration
You’ve now set up a basic Ubuntu 22.04 server, serving as a solid base for future setups.
9. Virtual Machine Image
This guide is available as a virtual machine in OVA/OVF format for Howtoforge subscribers, compatible with VMWare, VirtualBox, etc. Use the download link on the site:
SSH Login
Username: administrator
Password: howtoforge
User ‘administrator’ has sudo privileges. Change passwords immediately after the first boot. The VM is set to IP 192.168.0.100 by default and is using the US keyboard layout.
10. Links
For more information on Ubuntu, visit: www.ubuntu.com
FAQ
Q: Do I need a fast internet connection for installation?
A: While it’s not required, a fast internet connection is recommended for efficiently downloading package updates during the installation process.
Q: Can I use this guide to set up a virtual machine?
A: Yes, this guide is suitable for installations on physical servers and virtual machines alike. It provides instructions for configuring VMWare and VirtualBox as well.
Q: Is OpenSSH installation necessary?
A: Installing OpenSSH is optional but highly recommended for managing your server remotely via SSH.
Q: What should I do if I forget to configure the network during installation?
A: Network configurations, including static IP settings, can be altered post-installation by editing /etc/netplan/00-installer-config.yaml and applying changes with sudo netplan apply.
Q: How can I reset or change the root password?
A: Though direct root login is discouraged, you can set or change the root password using: sudo passwd root.
